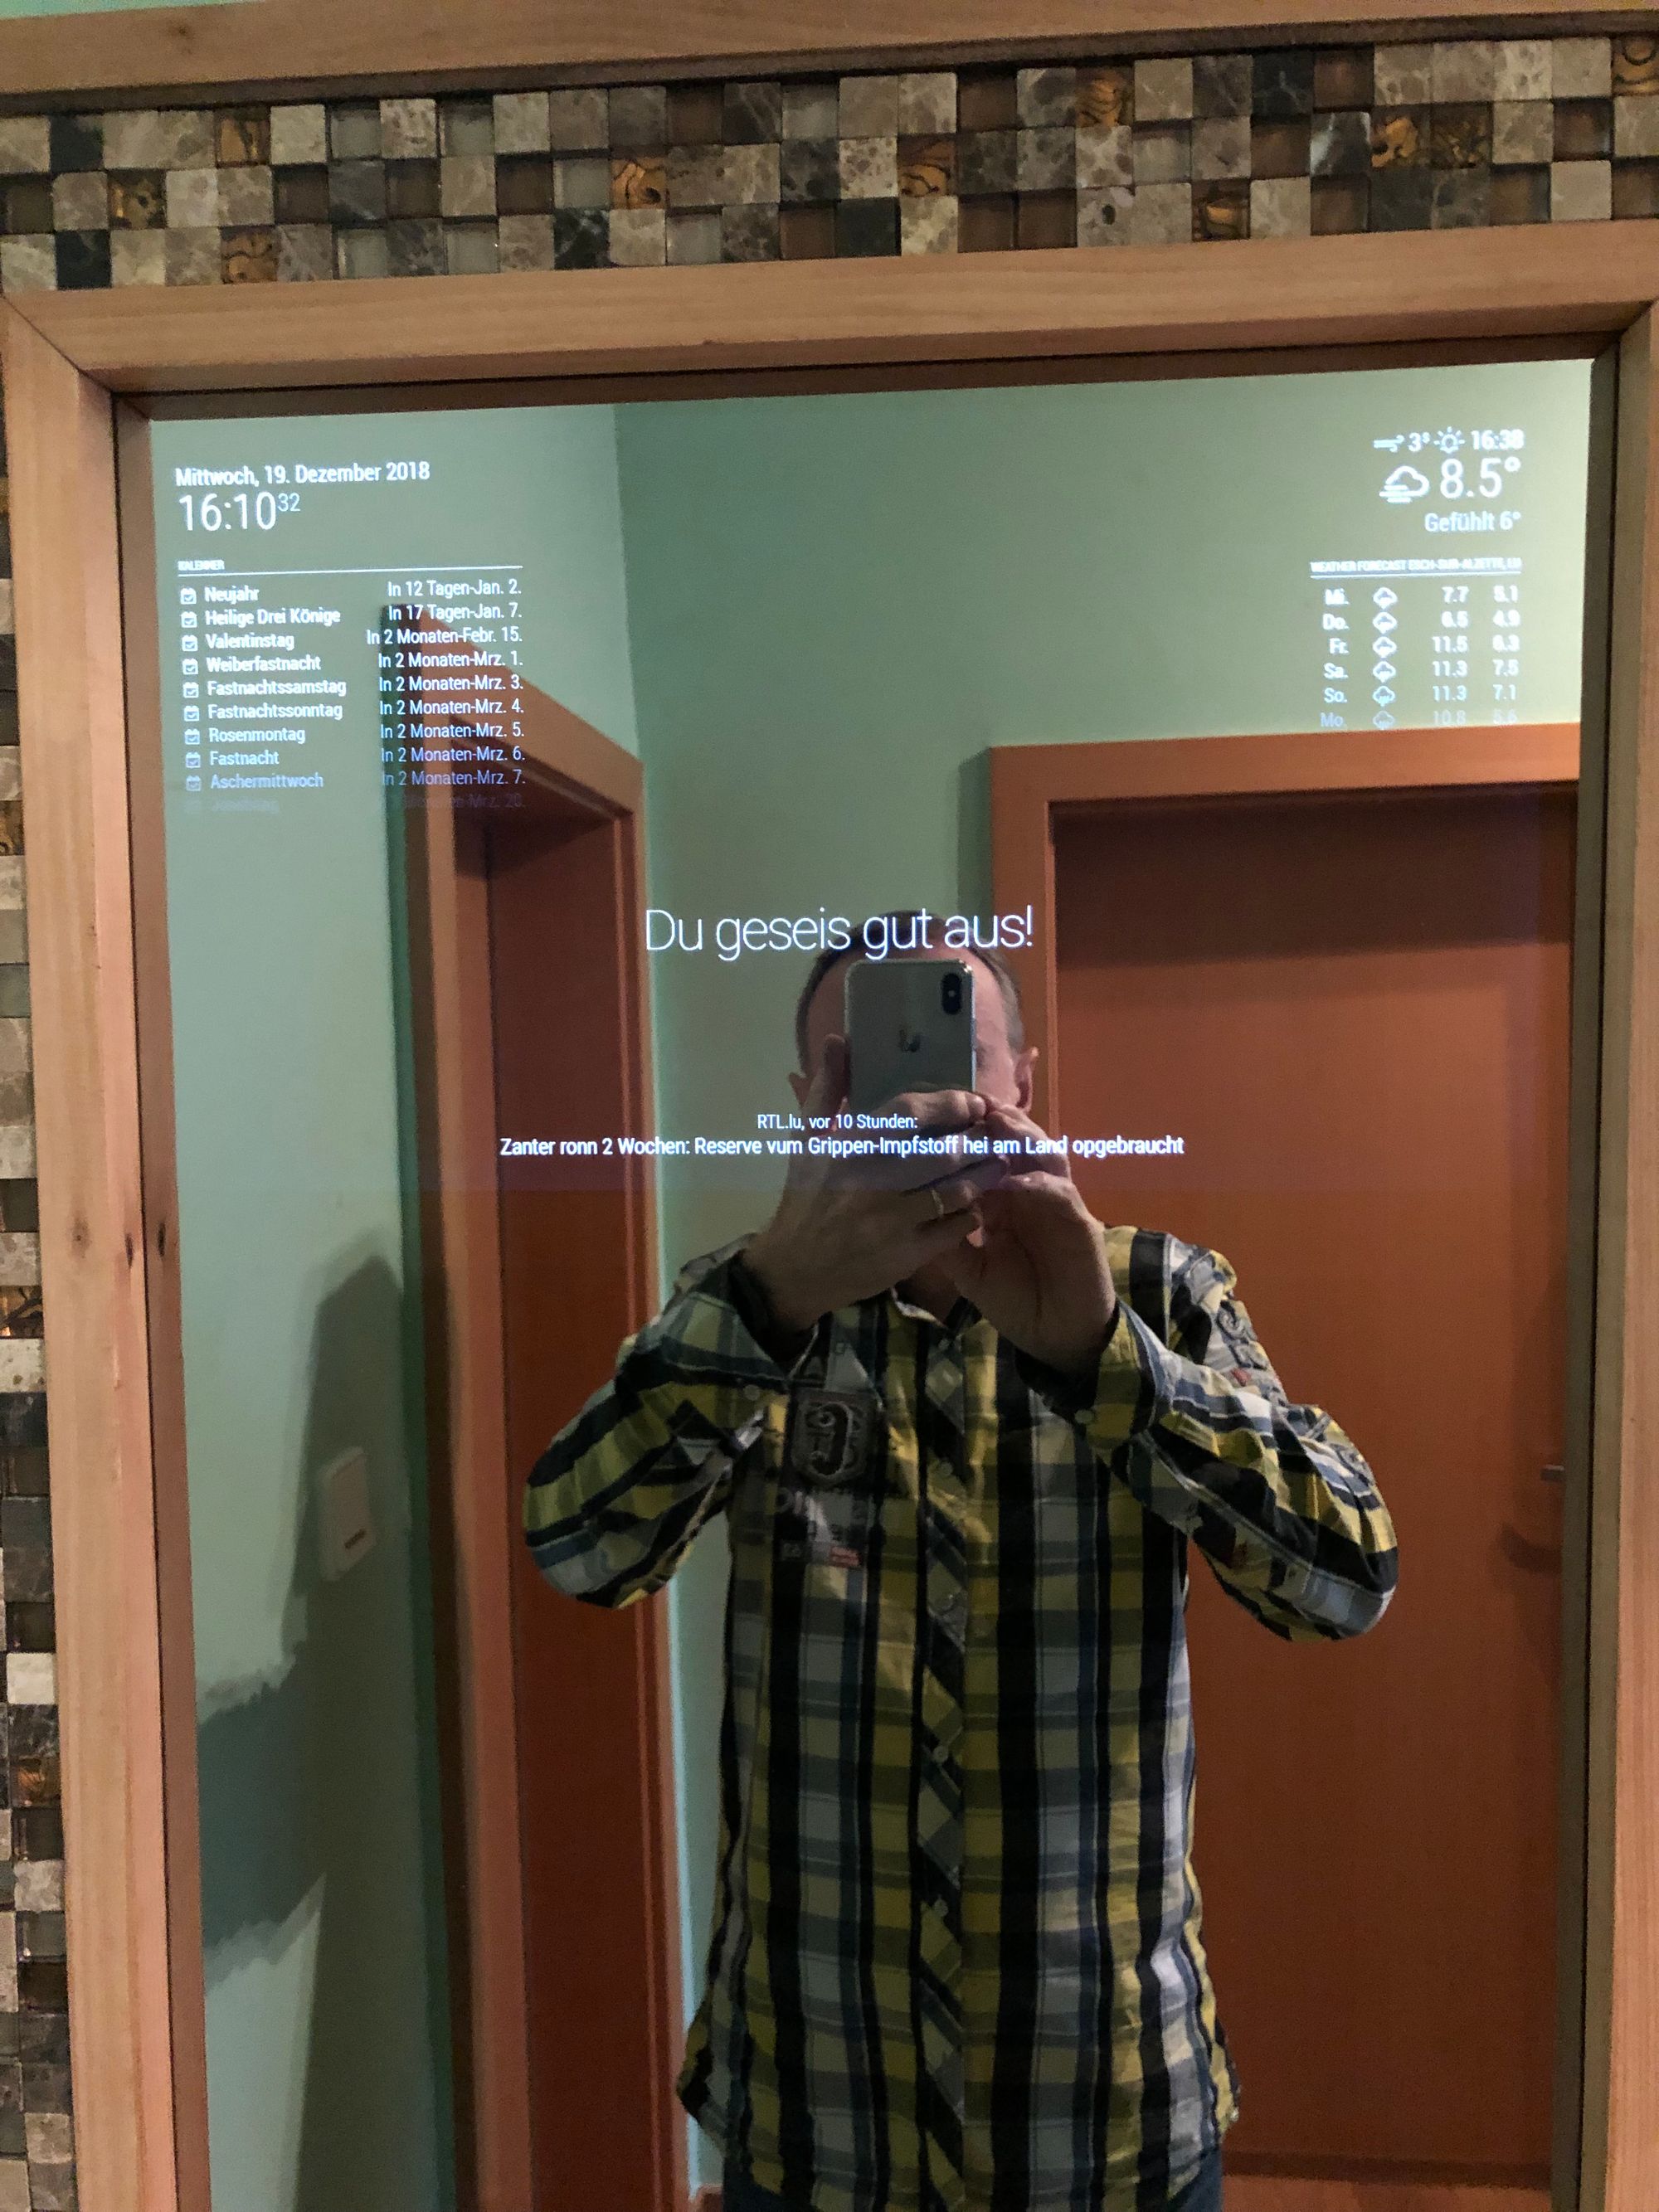
I always wanted to have a magic mirror, so one day a started to build one.
Here you can see how he looks like.
But to get at this point, it took me a while.

First I want to thanks all the people who posted in their blog how to build a magic mirror it helps me a lot.
Here my collection of bookmarks.
The first step was to find the right electronic parts which will fit together. I ordered the components that I found on this site.
glancr.com
The next two components were needed to switch the display on and off with my homematic system.
When switching the display from the mirror off the power consumption goes from 20 watts to 4 watts. That's a point not to ignore!
All the components that glanr suggested fitted perfectly together.
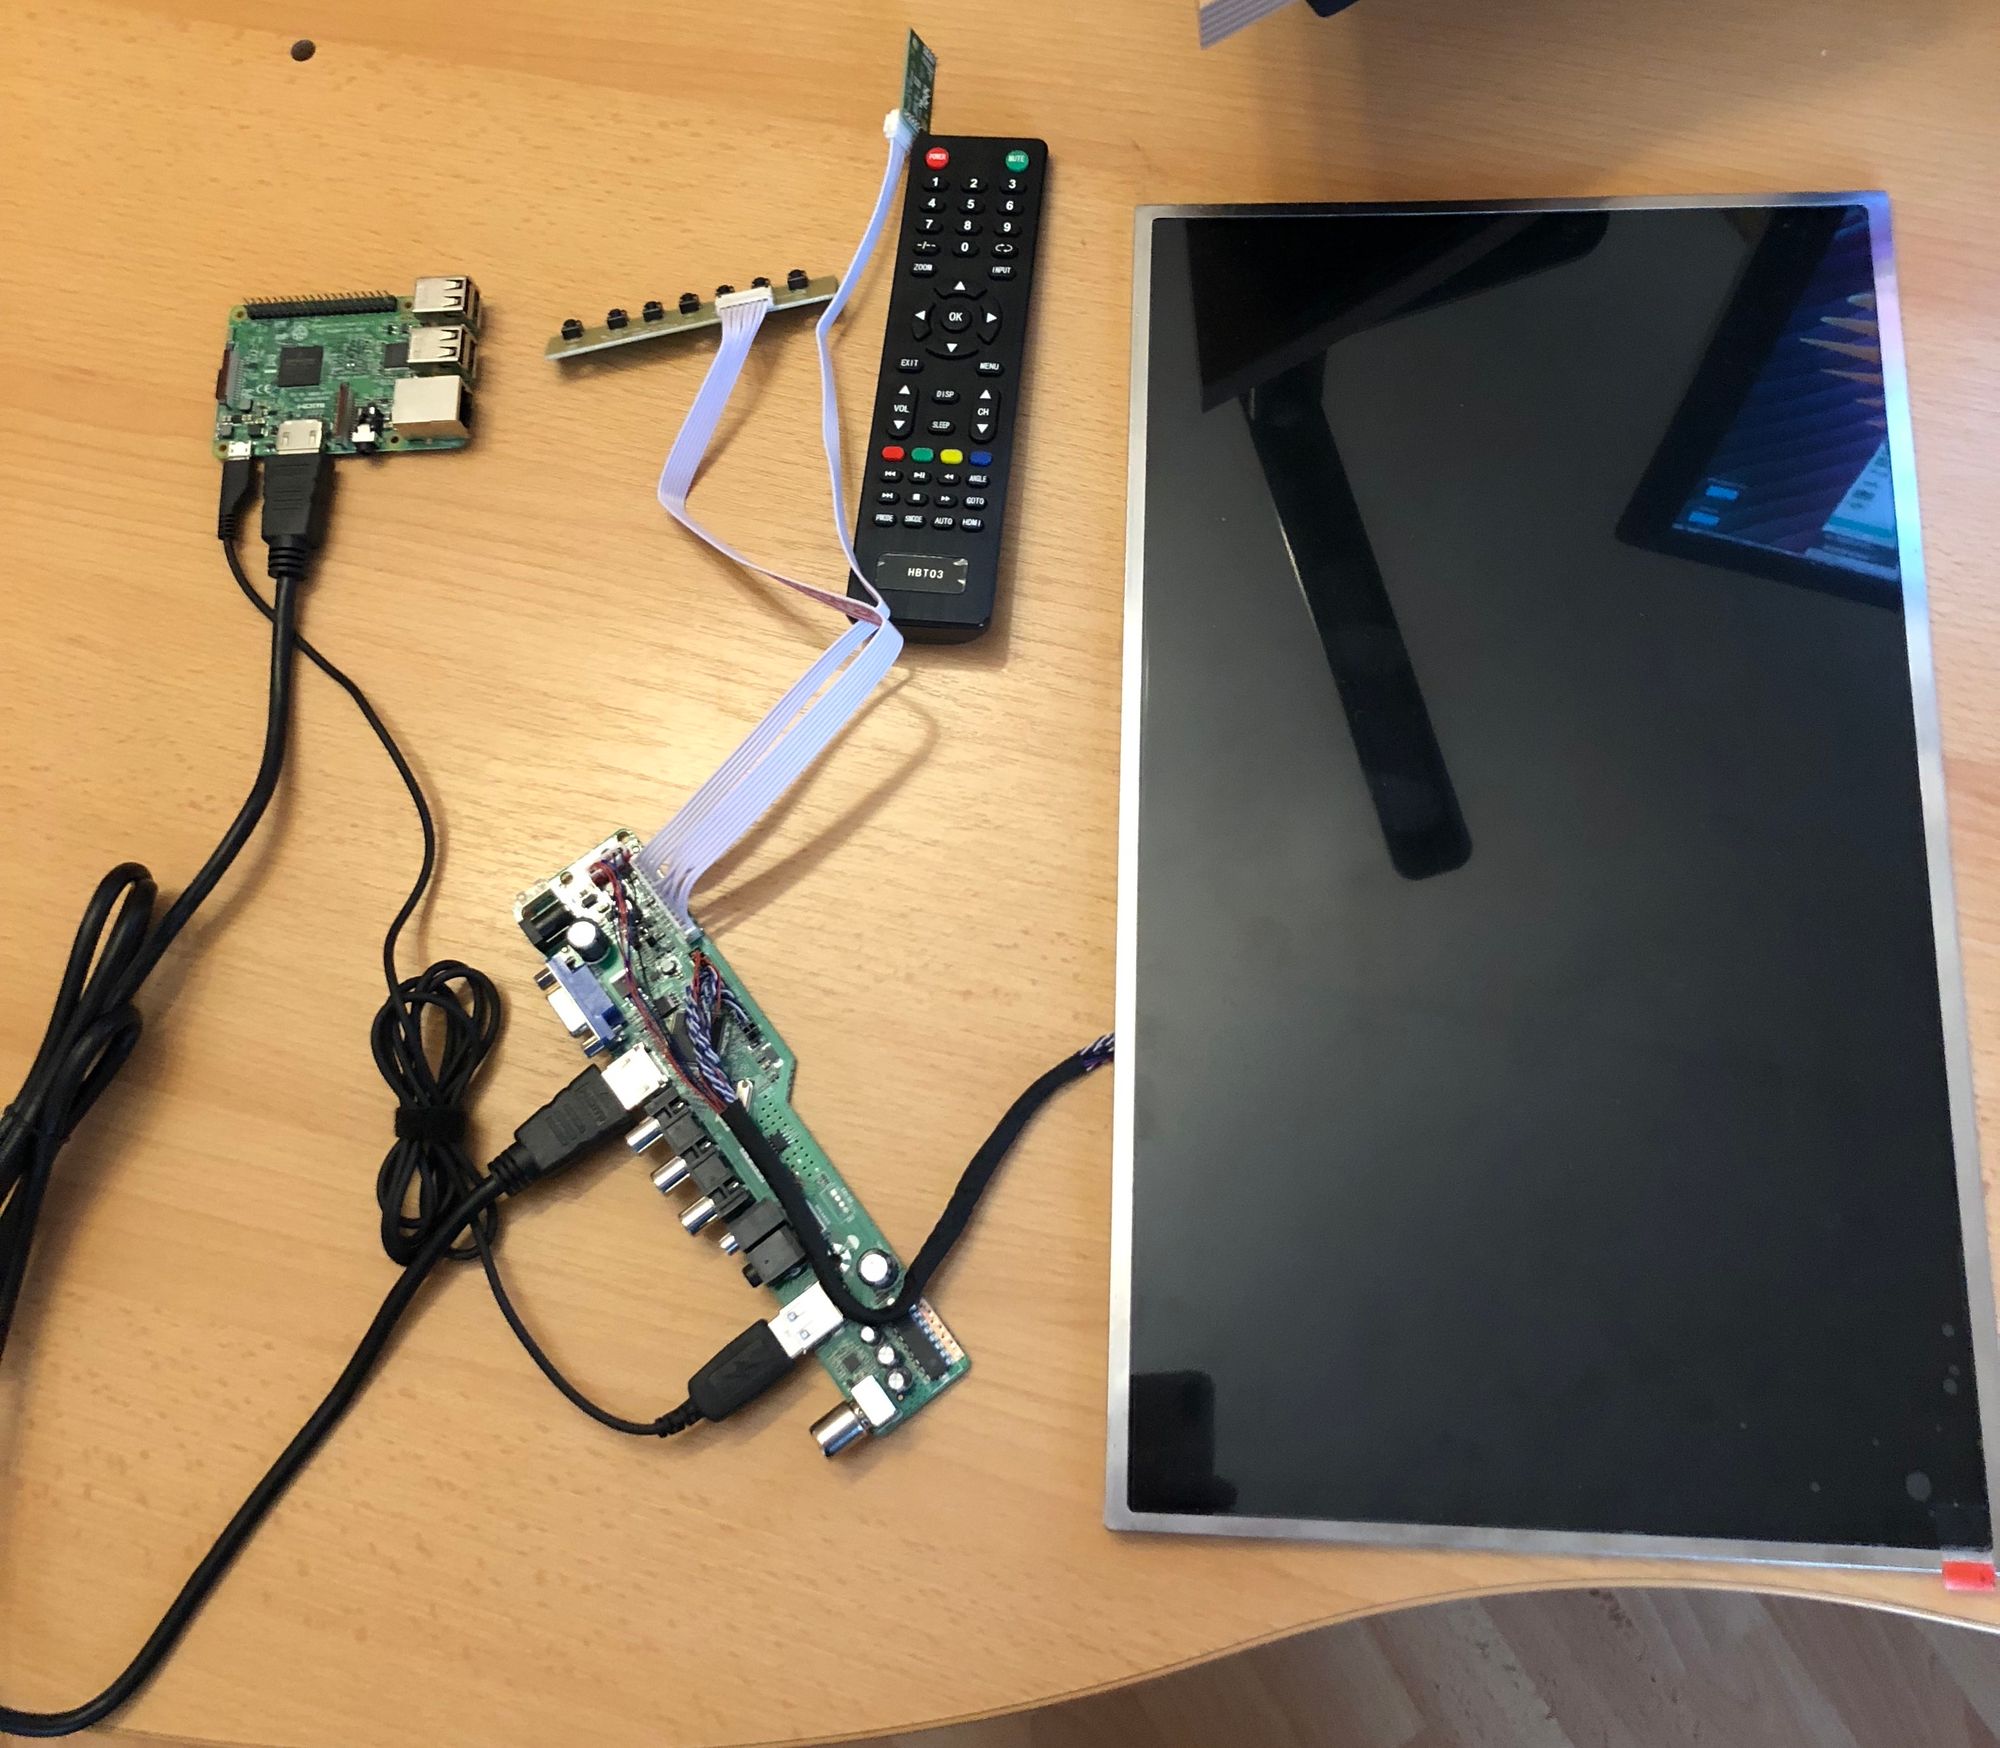
Here now the steps that I configured.
I used the magic mirror2 image file, instead of mirr.os image.
Magic mirror2 configuration commands.
My mirror size is 450x1600 mm
Download 2018-10-09-raspbian-stretch.img from https://www.raspberrypi.org/downloads/raspbian
Write image to the sd card (32GB) using ApplePi-baker
When sd card appears on the screen “boot”, move it over a terminal screen. The path to the sd card is set automatically in the terminal. Create an empty file on the card , using the command :touch followed by the name ssh to enable SSH.
touch ssh
Remove the card from the card-writer, and insert it in the raspberry pi.
Power the raspberry, and start a terminal session using the command.
(If you don't jnow the IP address if your PI, check it from in the fritzbox.
Login using ssh to your raspberrypi.
ssh pi@Pi_ip-address
Change the password and hostname using the command .
raspi-config
Here a few commands to check the configuration.
edit interfaces sudo nano /etc/network/interfaces
to check the hostname
hostname
check network interfaces
ifconfig
connect to pi using ssh
ssh pi@Pi_ip-address
shutdown the raspberry
sudo shutdown / sudo power-off
update
sudo apt-get update
upgrade
sudo apt-get upgrade
check if enough space
df -h
retrieve day and time
date
disable/enable hdmi1 on raspberrypi
vcgencmd display_power 0 / 1
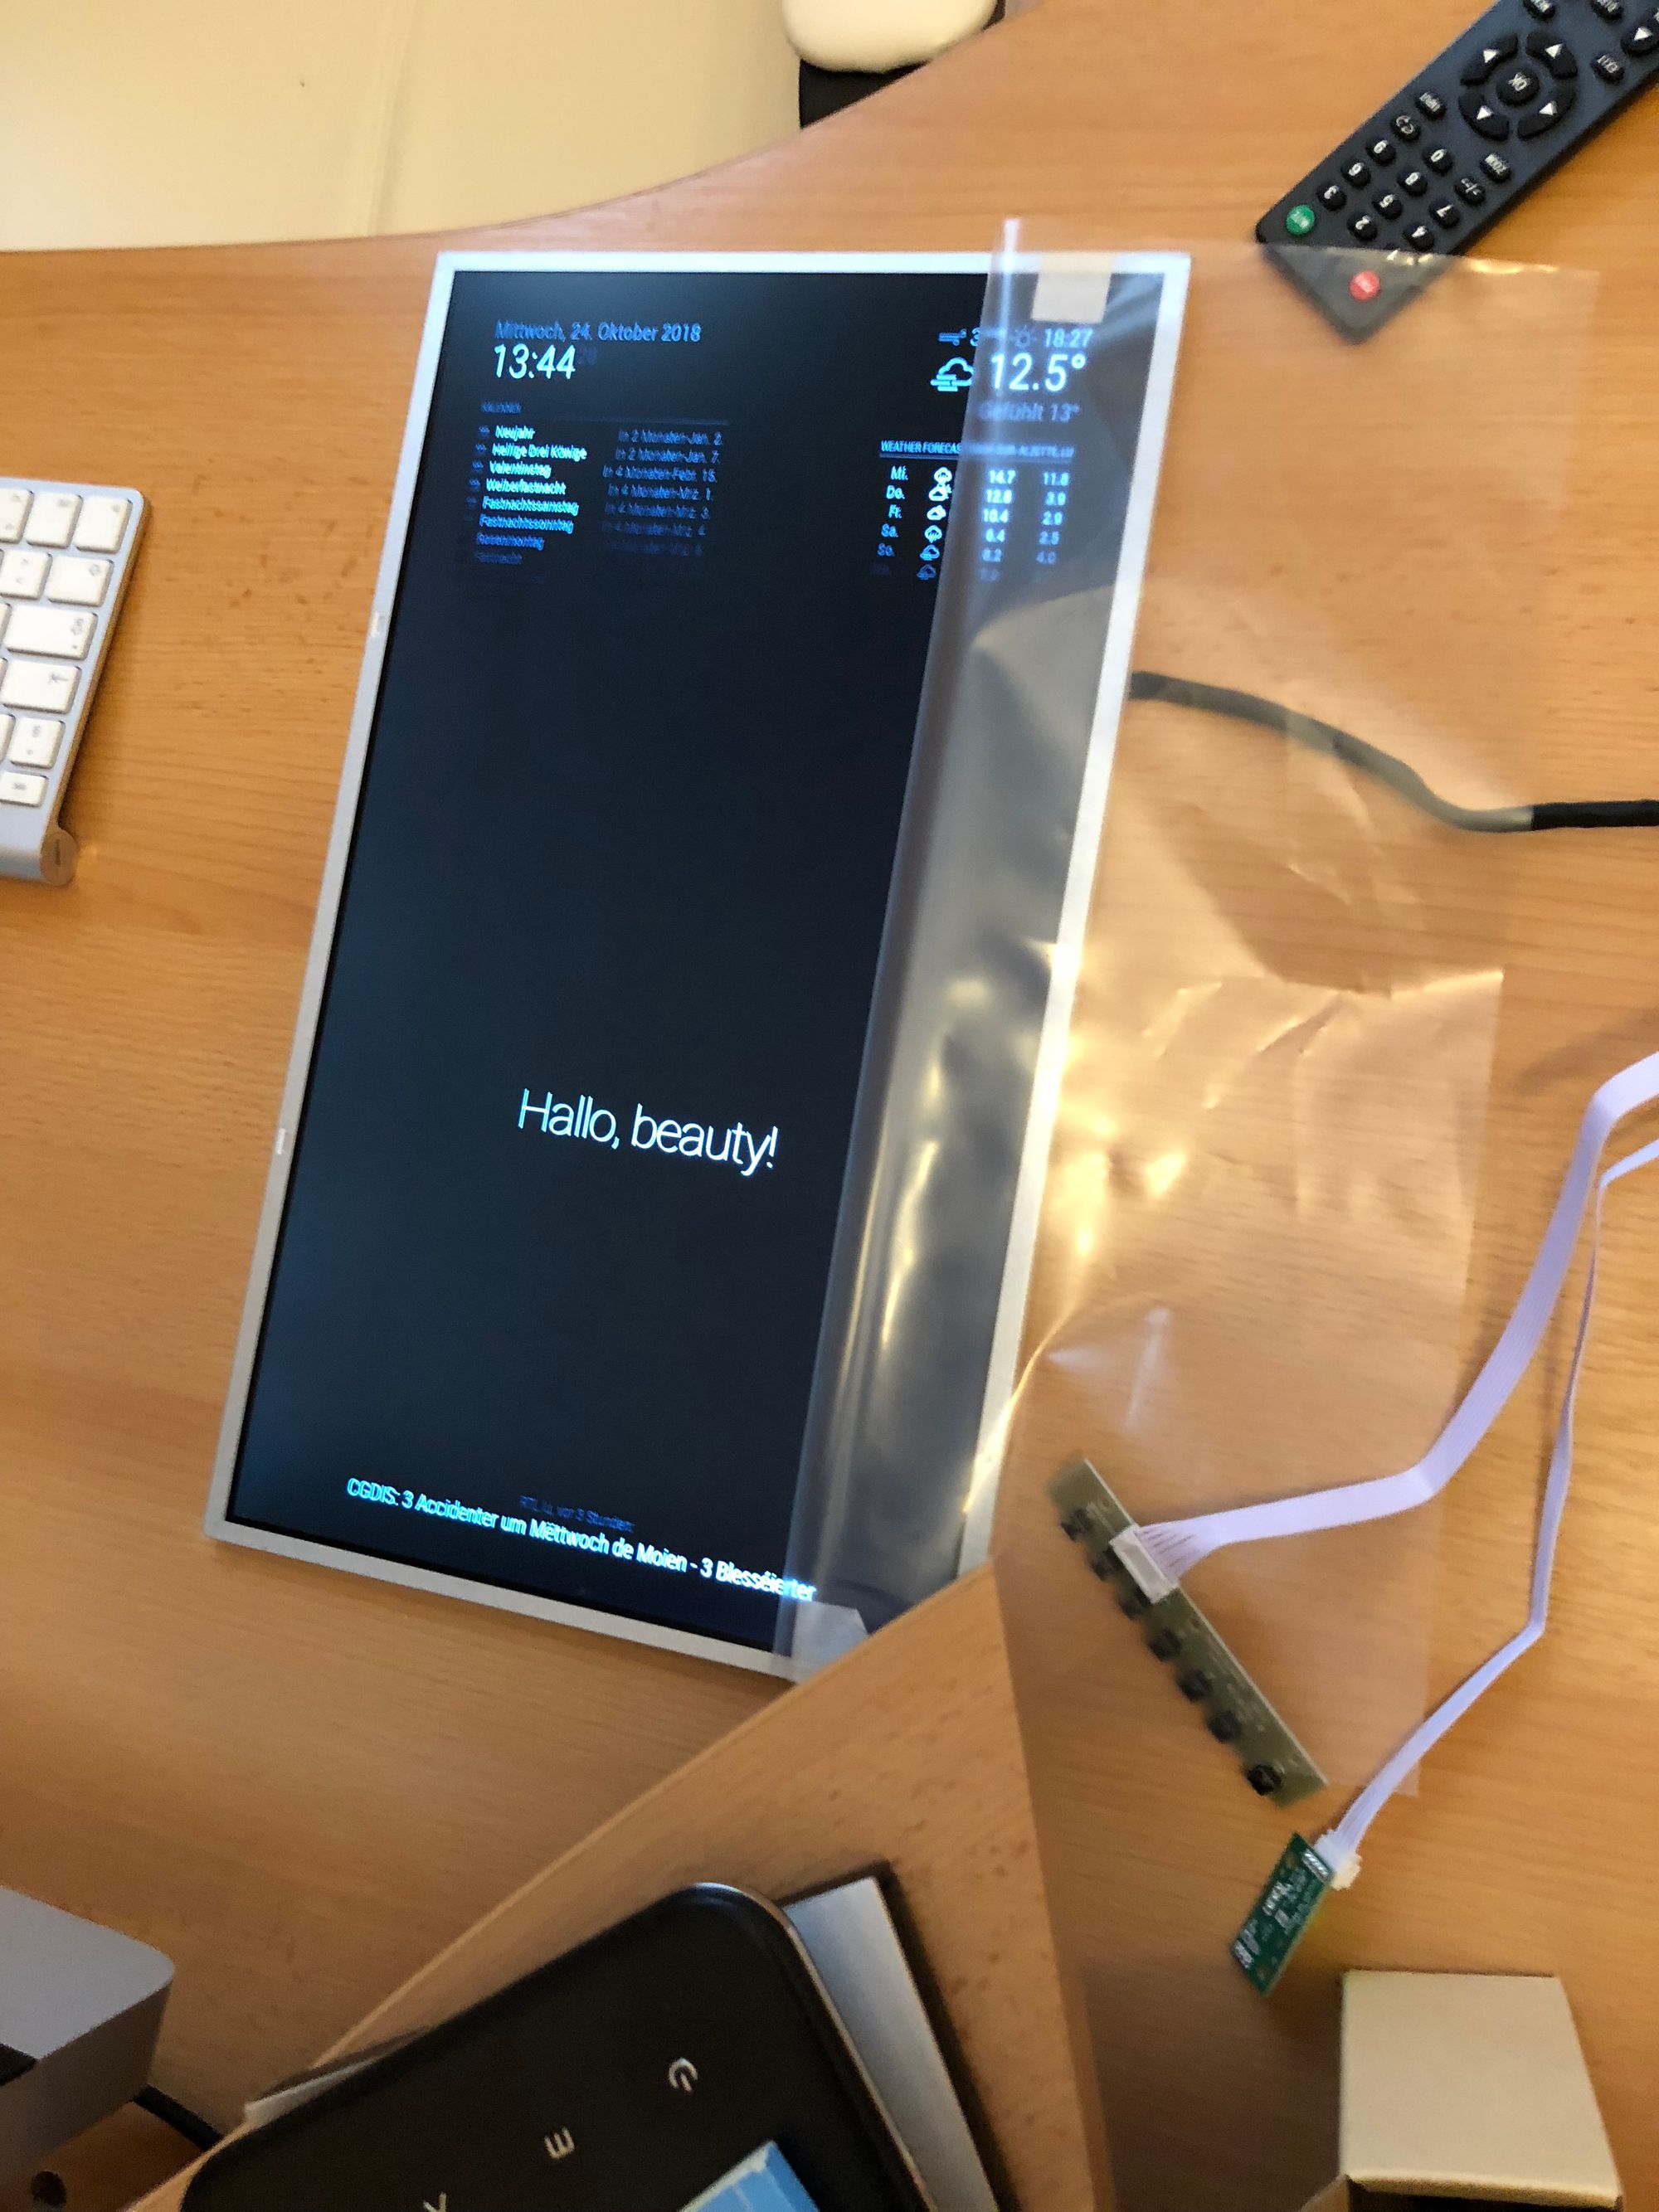
Turn monitor by 90 degree if needed.
add the following 4 lines
sudo nano /boot/config.txt
			hdmi_drive=2
			avoid_warnings=1
            hdmi_group=2
            hdmi_mode=82
            hdmi_force_hotplug=1
Screen resolution in DMT format (1080p 60Hz)
hdmi_mode=82
When iHDMI display is not detected and composite is being output
hdmi_force_hotplug=1
Disable the screensaver.
sudo nano ~/.config/lxsession/LXDE-pi/autostart
add the following 3 lines
@xset s noblank
@xset s off
@xset -dpms
set the „xserver-command=X -s 0 -dpms
sudo nano /etc/lightdmlightdm.conf
sudo service lightdm restart
Configure the wifi interface wlan0.
sudo iwlist wlan0 scan |egrep"(ssid-name)"
check if a wlan is in range
sudo iwlist wlan0 scan
adding SSID and password
sudo nano /etc/wpa_supplicant/wpa_supplicant.conf
add the next 2 lines
sudo nano /etc/network/interfaces
pre-up iw dev wlan0 set power_save off
post-down iw dev wlan0 set power_save on
Disable WiFi Power Save For RPi 3 (Raspbian Stretch)
We no longer have any default entries in /etc/network/interfaces, instead we make a plugin to the (service) startup script. Copy paste the following lines into your terminal: cat << EOF | sudo tee /etc/network/if-up.d/off-power-manager
Install the magic mirror2 by typing this command in your terminal window from your fresh installed raspberrypi.
bash -c "$(curl -sL https://raw.githubusercontent.com/MichMich/MagicMirror/master/installers/raspberry.sh)"
Customise the interface of magic mirror.
change path to magic Mirror directory
cd ~/MagicMirror
edit config.js file
nano config/config.js
Modules in config.js file
Weather „create an account on openweather.org, to get a free appid.
module: "currentweather",
position: "top_right",
config: {
location: "your location, country",
locationID: "", //ID from http://bulk.openweathermap.org/sample/; unzip the gz file and find you$
appid received from opemweather.org, by creating a free account appid: "insert-id-from-openweathermap"
}
},
{
module: "weatherforecast",
position: "top_right",
                    	header: "Weather Forecast",
                    	config: {
                            	location: "your location, country",
	                            locationID: "",  //ID from http://www.openweathermap.org/help/city_list.txt
appid received from opemweather.org, by creating a free account appid: "insert-id-from-openweathermap"
Compliments here an example in luxembourgish.
cd ~/MagicMirror/modules/default/compliments

sudo nano compliments.js

    defaults: {
            compliments: {
                    anytime: [
                            "Hallo, du bass  cool!"
                    ],
                    morning: [
                            "Gudde Moien!",
                            "Genéiss däin Dag!",
                            "Weie hues de geschlof?"
                    ],
                    afternoon: [
                            "Hallo Schéinheet!",
                            "Du hues en sexy look!",
                            "Sou kanns de fortgoen!"
                    ],
                    evening: [
                            "Wow, du geseiss nach hot aus!",
                            "Du geseiss gutt aus!",
                            "Geseiss nach ganz entspannt aus!"
                    ]
            },
News feed
edit config.js file
nano config/config.js
			module: "newsfeed",
                   	 	position: "bottom_bar",
                   	 	config: {
            	                feeds: [
                           	         {
                                           	 title: "RTL.lu",
                                     	       url: "http://rtl.lu/rss/headlines"
                               	     }
Calendar
nano config/config.js
		module: "calendar",
                    	header: "Kalenner",
                    	position: "top_left",
                    	config: {
                           	 calendars: [
                                	    {
                                         	   symbol: "calendar-check-o ",
     	                                       url: "https://www.schulferien.org/media/ical/deutschland/feiertage_2019.ics?k=43SI5eIs6IDdwZvwdO82hdip4D245WoI7BoX3sYrI1Mb3J6o2IIwqVQUzj3FnCIQH84d5E08ebCbHrVFSkcYZg"
                                    }
Magic Mirror Module: Remote Control installation.
bash -c "$(curl -s https://raw.githubusercontent.com/Jopyth/MMM-Remote-Control/master/installer.sh)"
WebGui in browser http://ip-address:8080/remote.html
Font size adjustment in
nano /css/custom.css

 body {

 }
.clock .time {
  font-size 60px;
  color: white;
 }
.clock .date {
  font-size: 30px
}

.small {
  font-size: 25px;
  line-height: 30px;
}
I had an idea in mind, how my mirror must look, and started drawing in SketchUp. I used the plugin for the chrome browser. It took me a few hours to learn how to use all the tools in Sketchup, by finally I succeeded, and I was happy about the result. Here you can see your self.
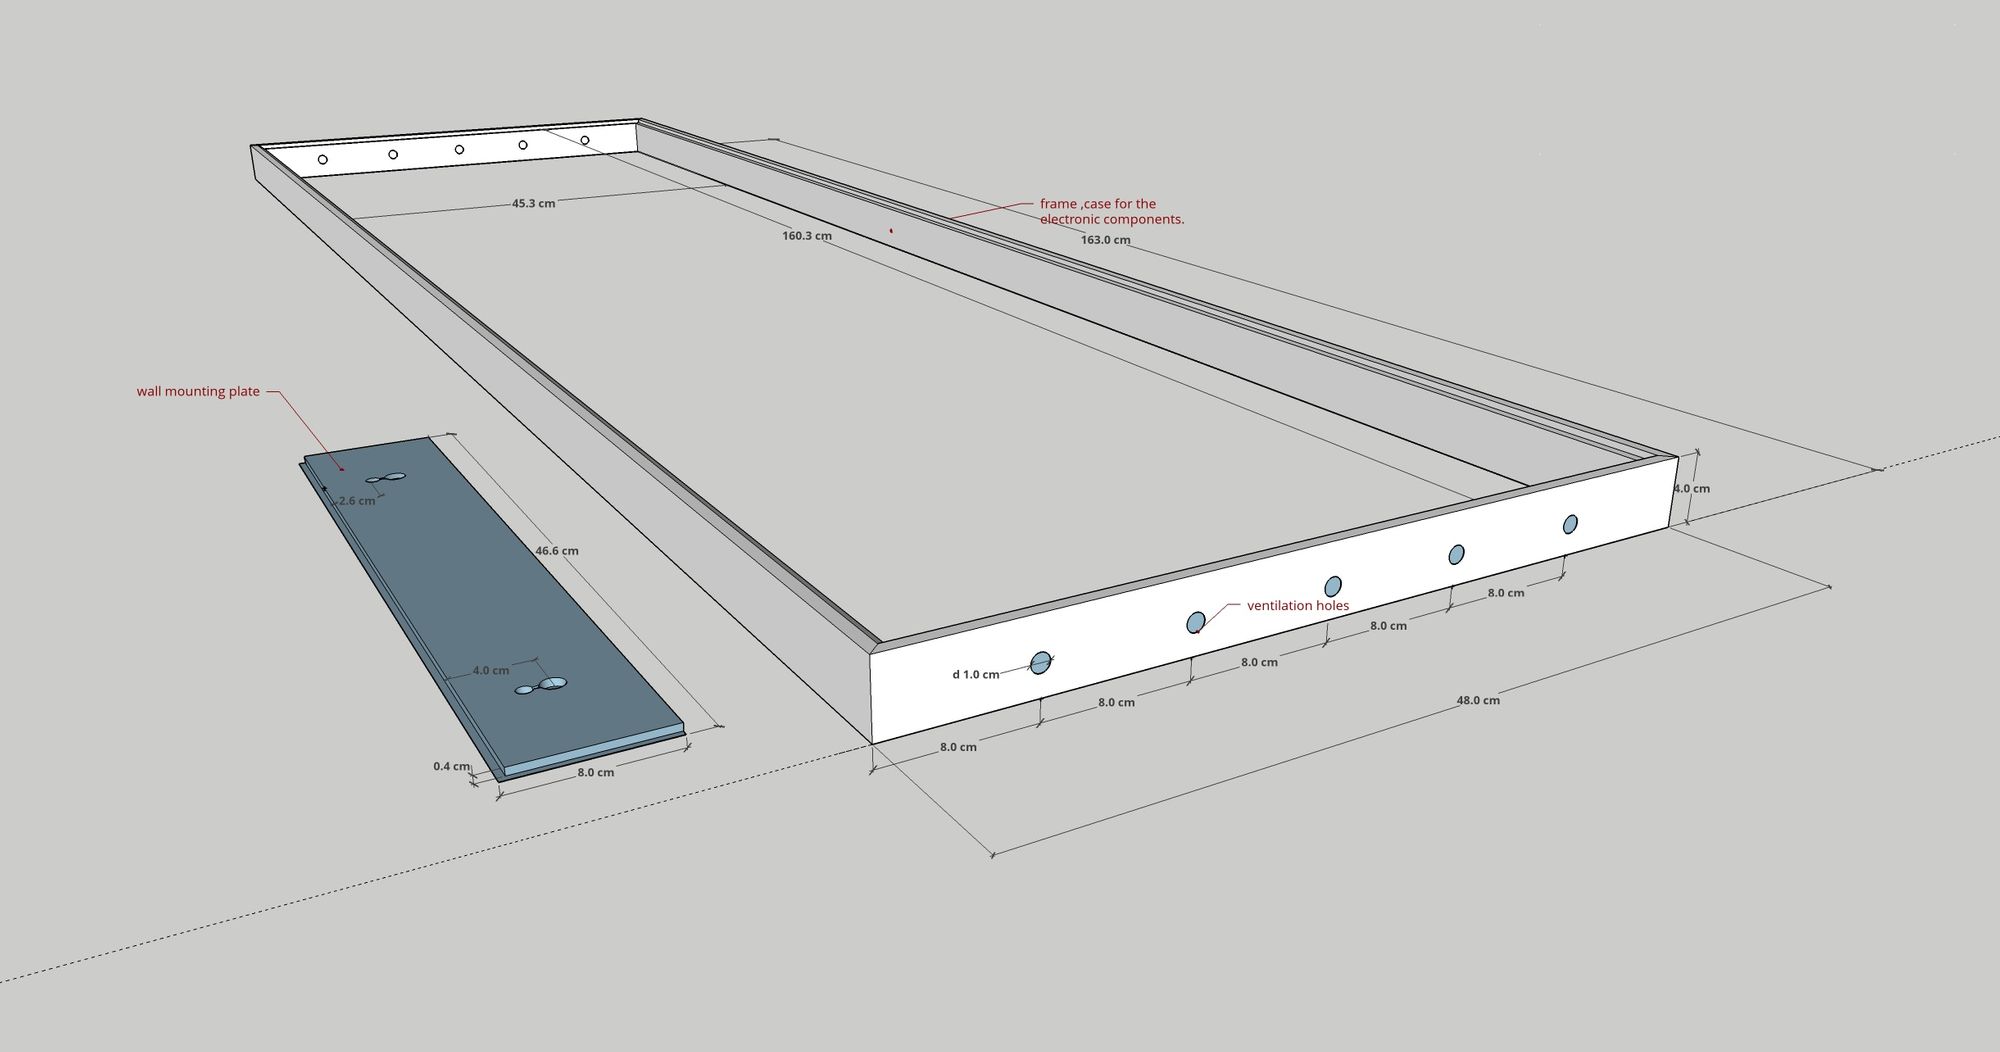
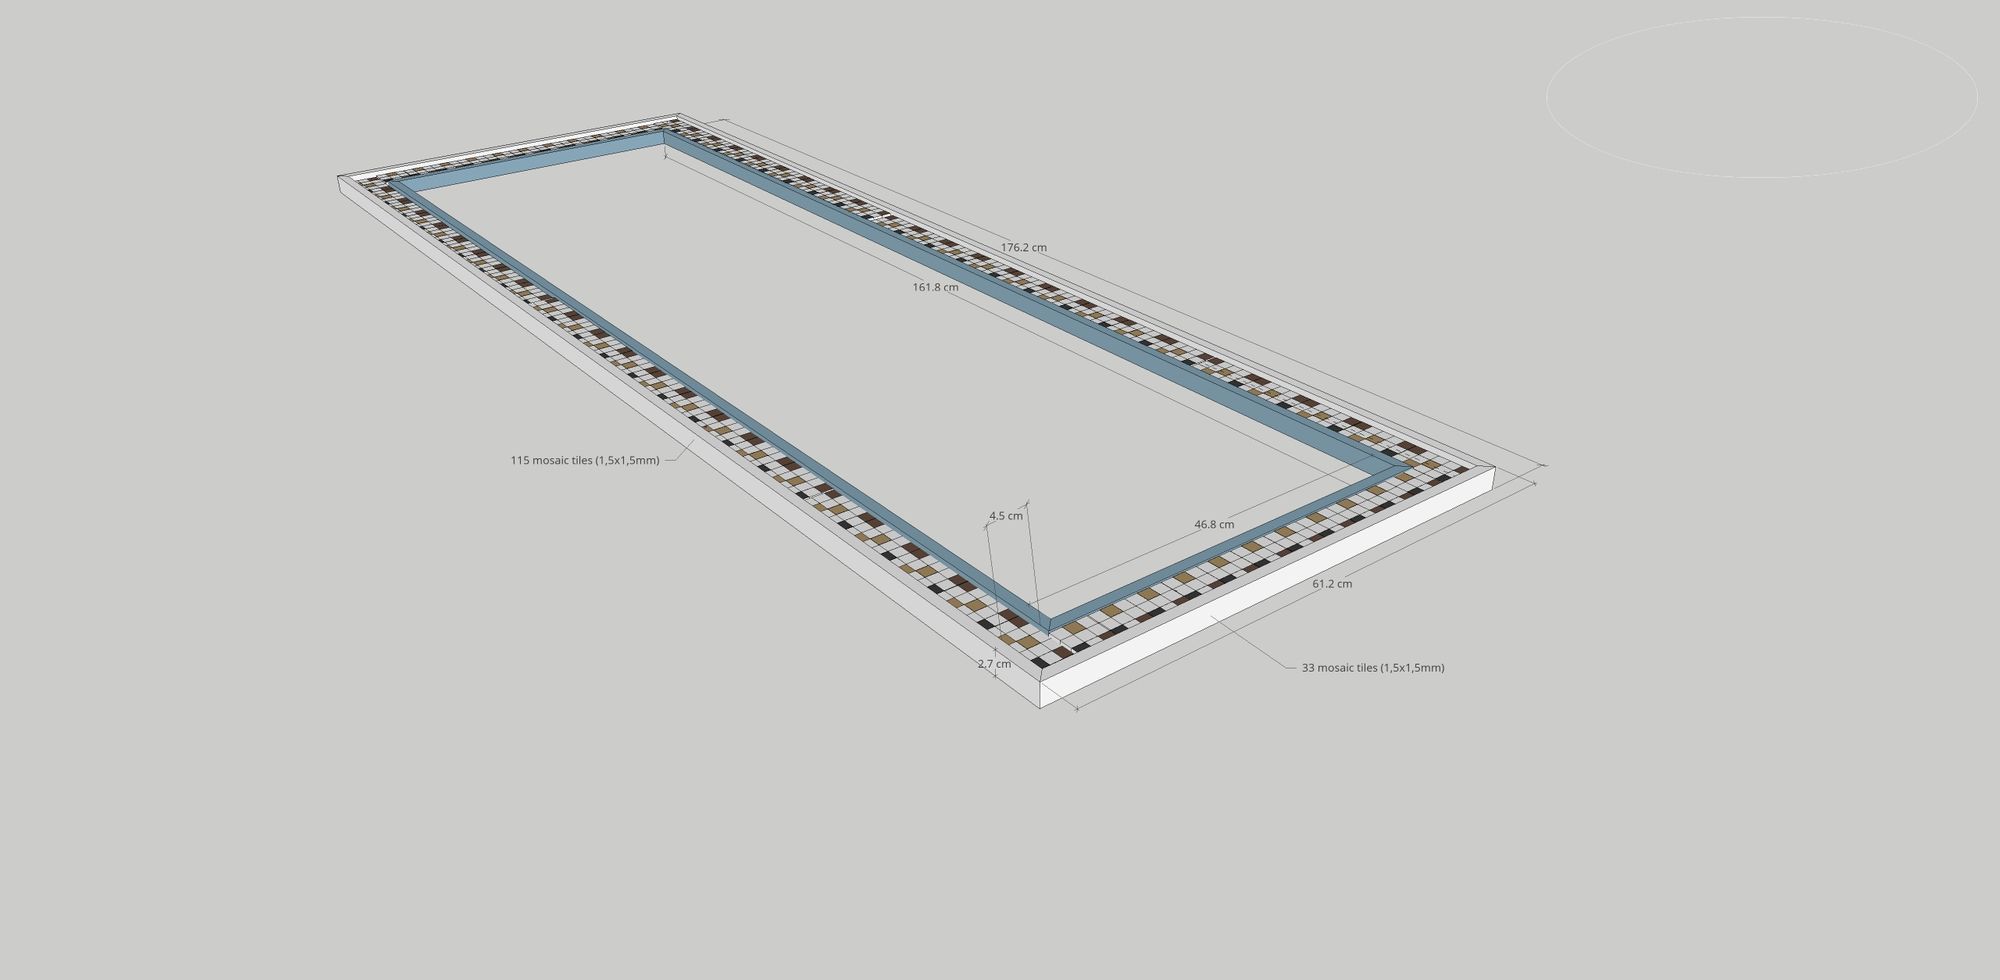
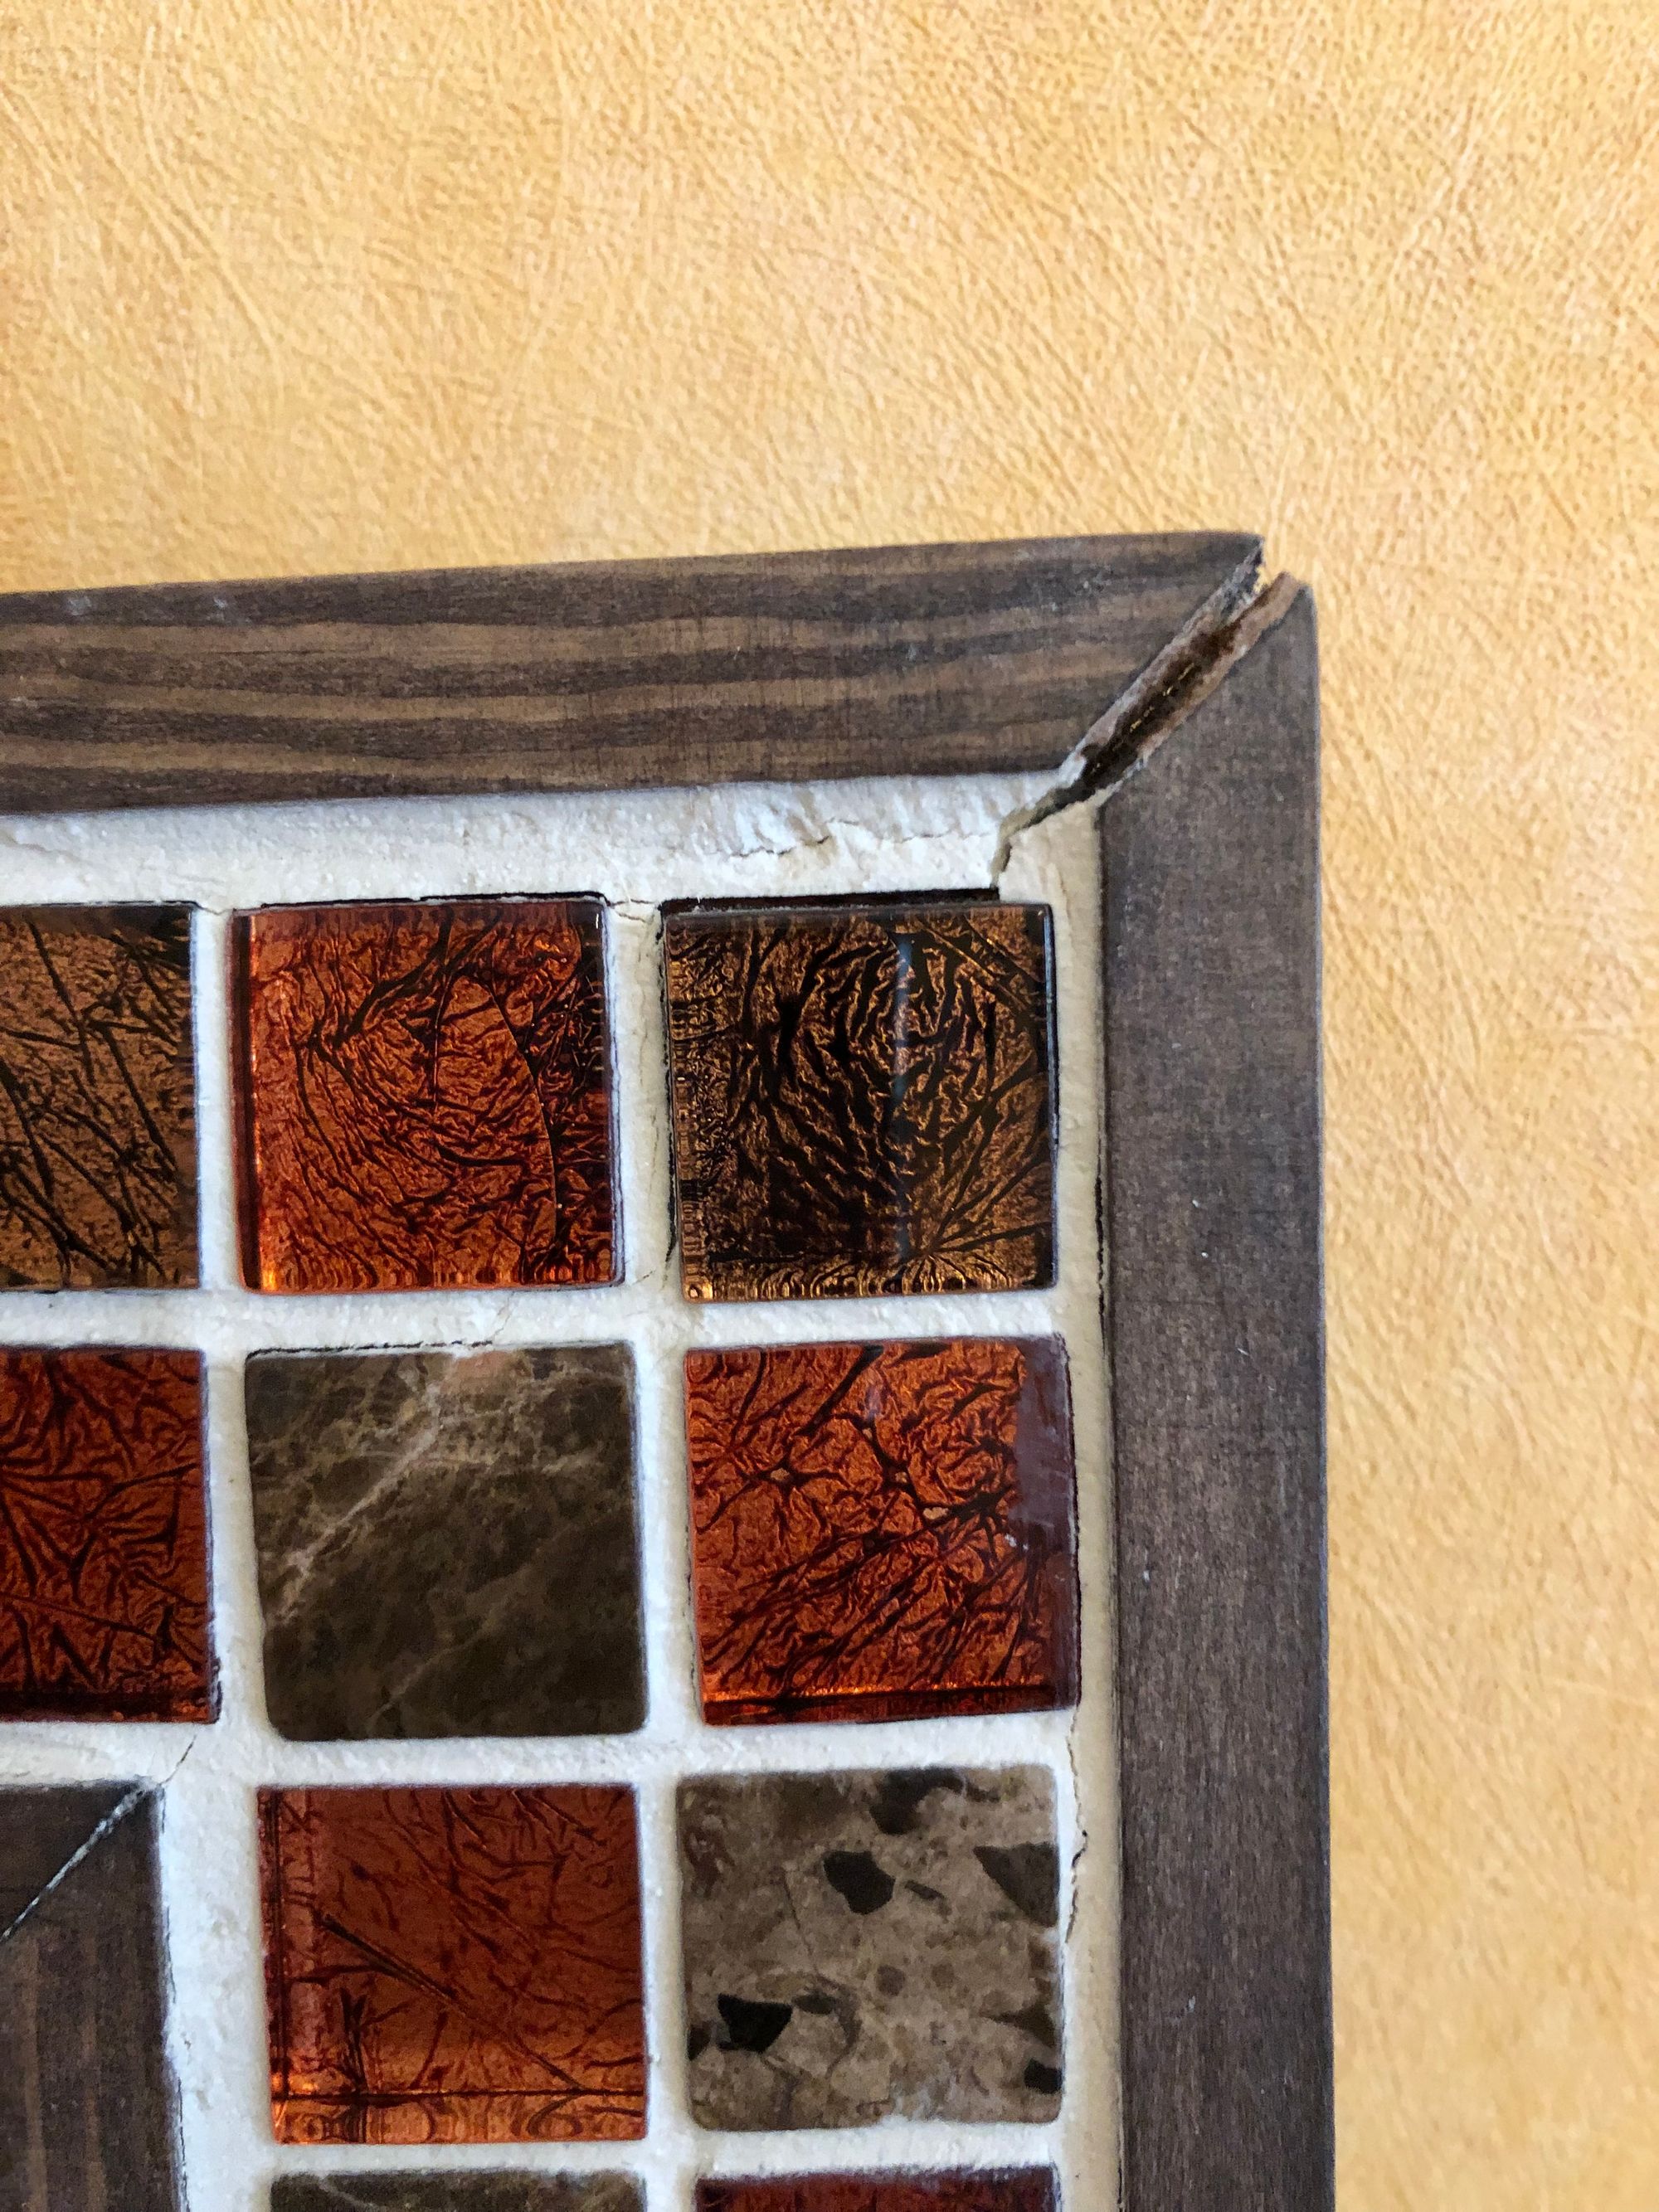
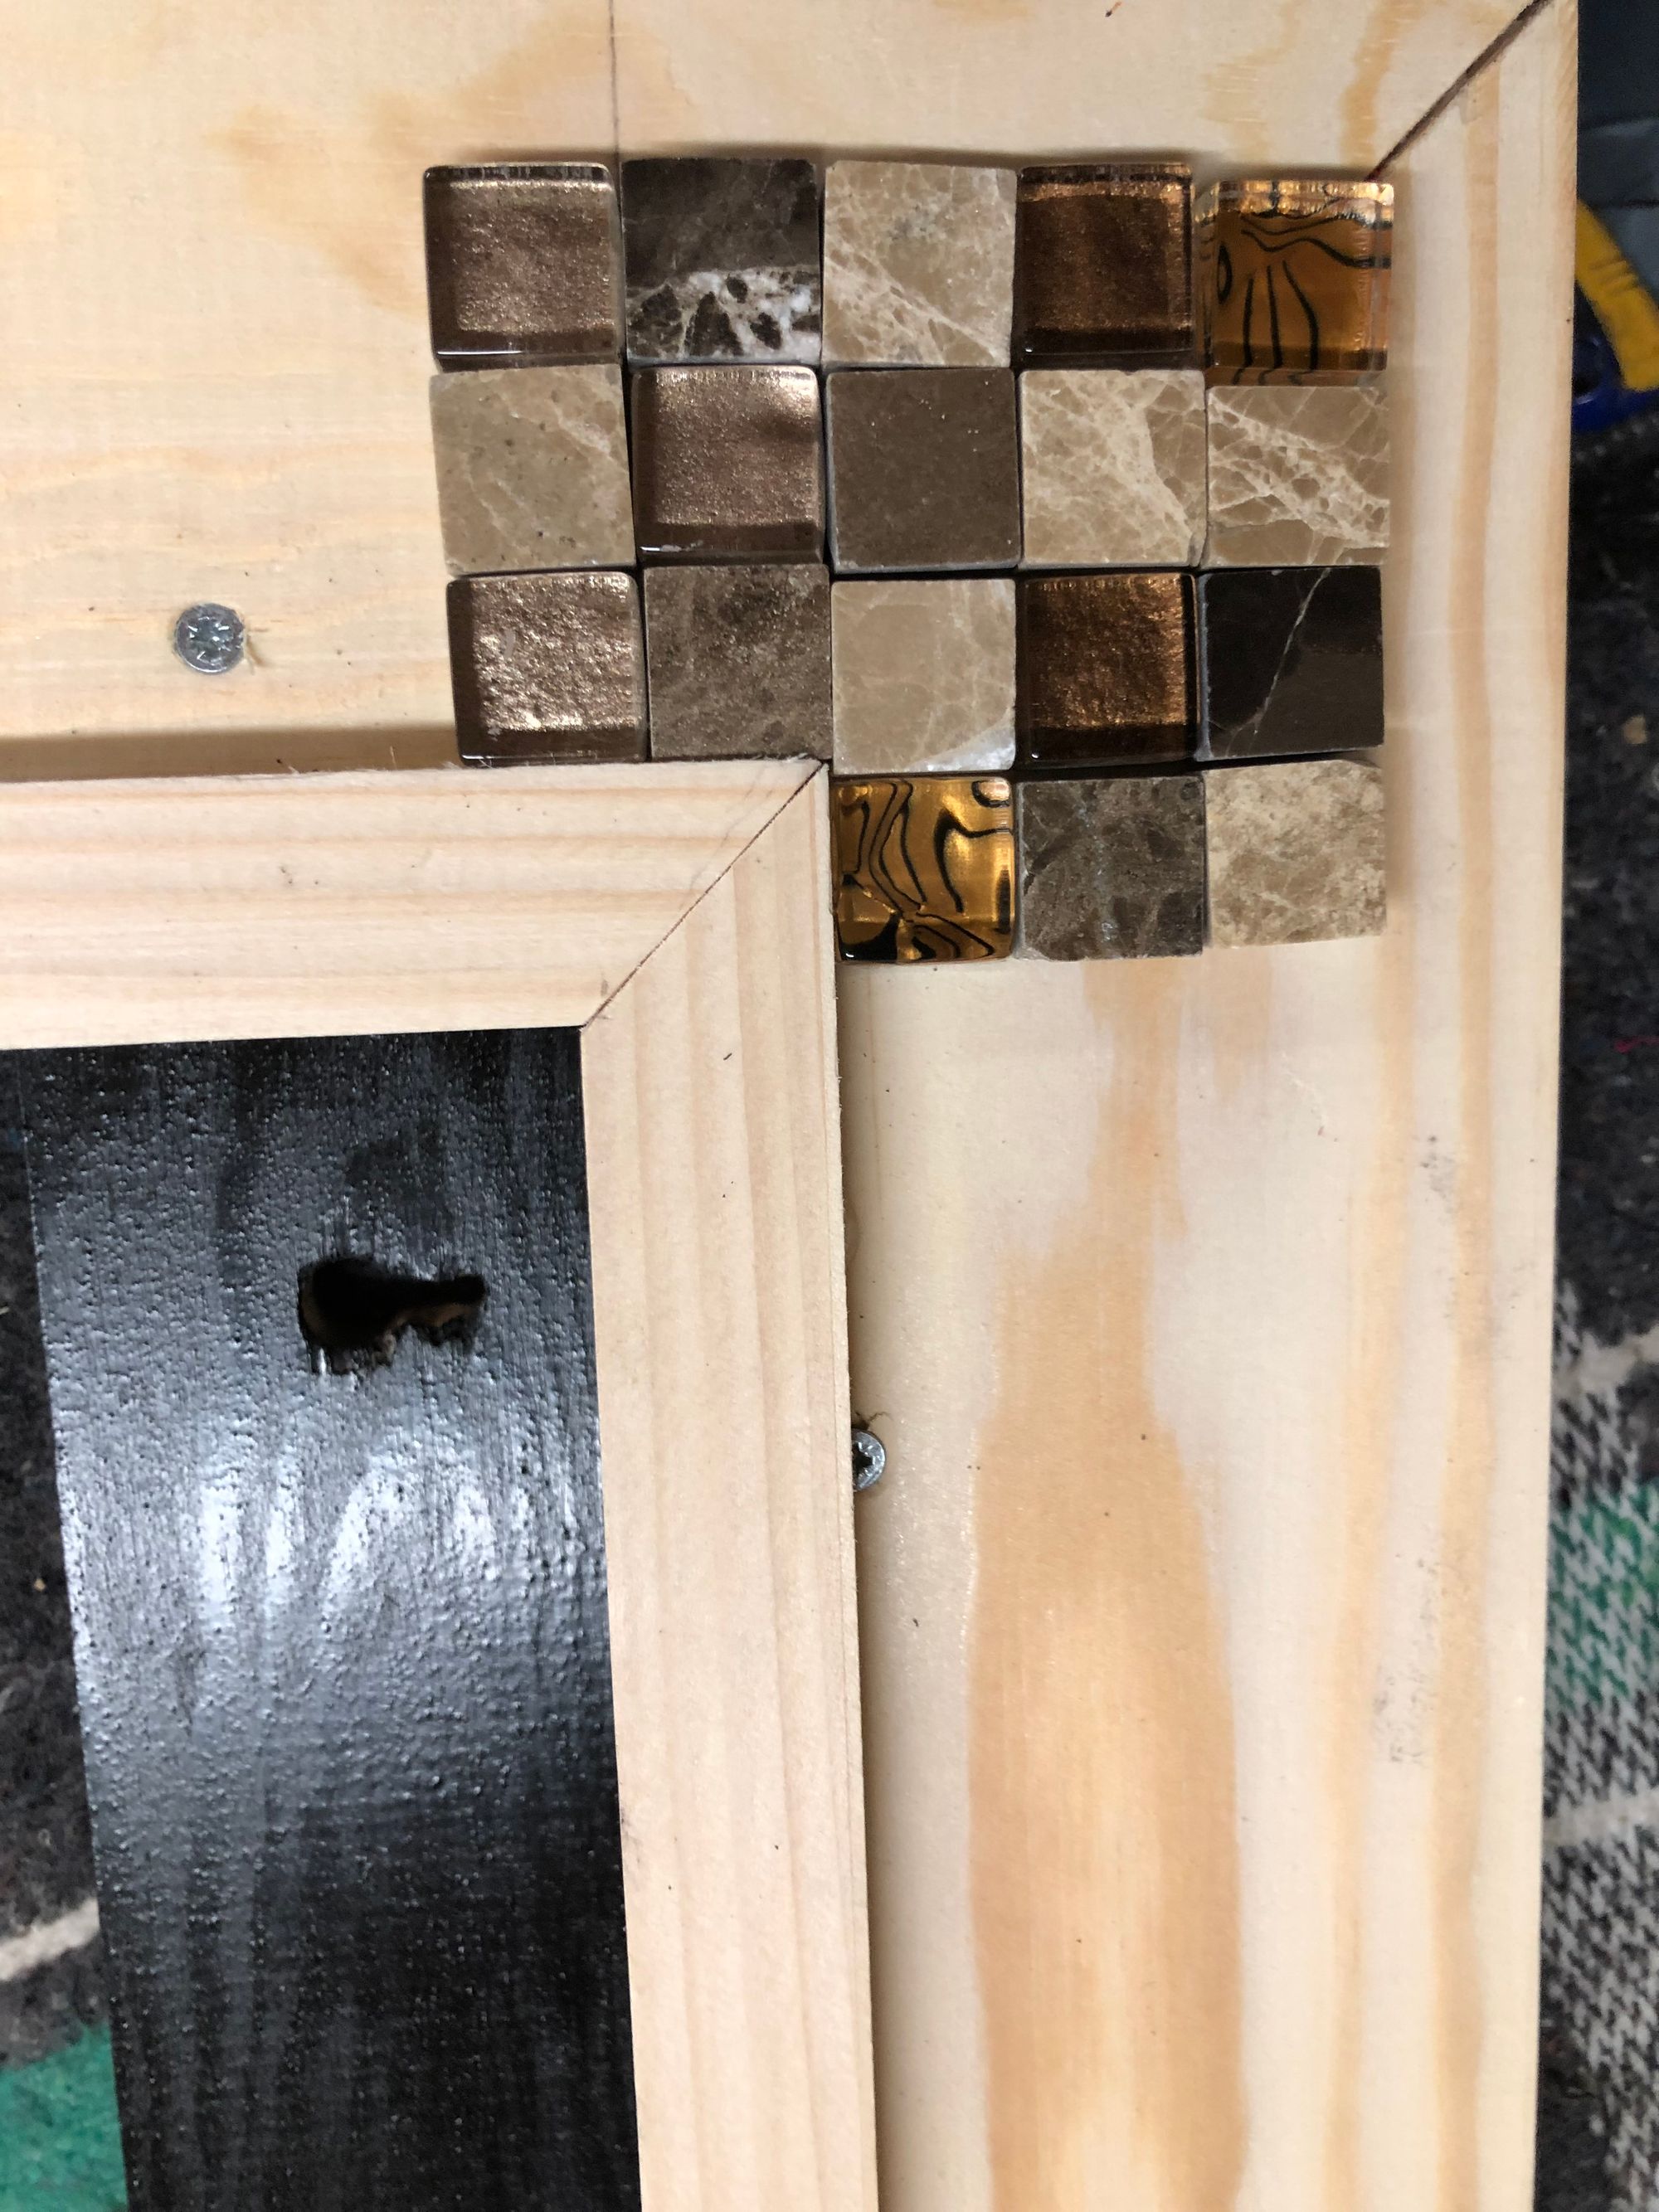
As you can see in the pictures, I want to build a frame with small titles (1cm/1cm) around the mirror. But this ended in a disaster. The only thing that I had to do was to tiles my frame and to fill the gaps. I used, therefore, a joint filler where I added some water.
The next day I want to check if the joint filler was dried, and saw what happened! The joint filler dried and expand, and burst my frame (last two pictures).
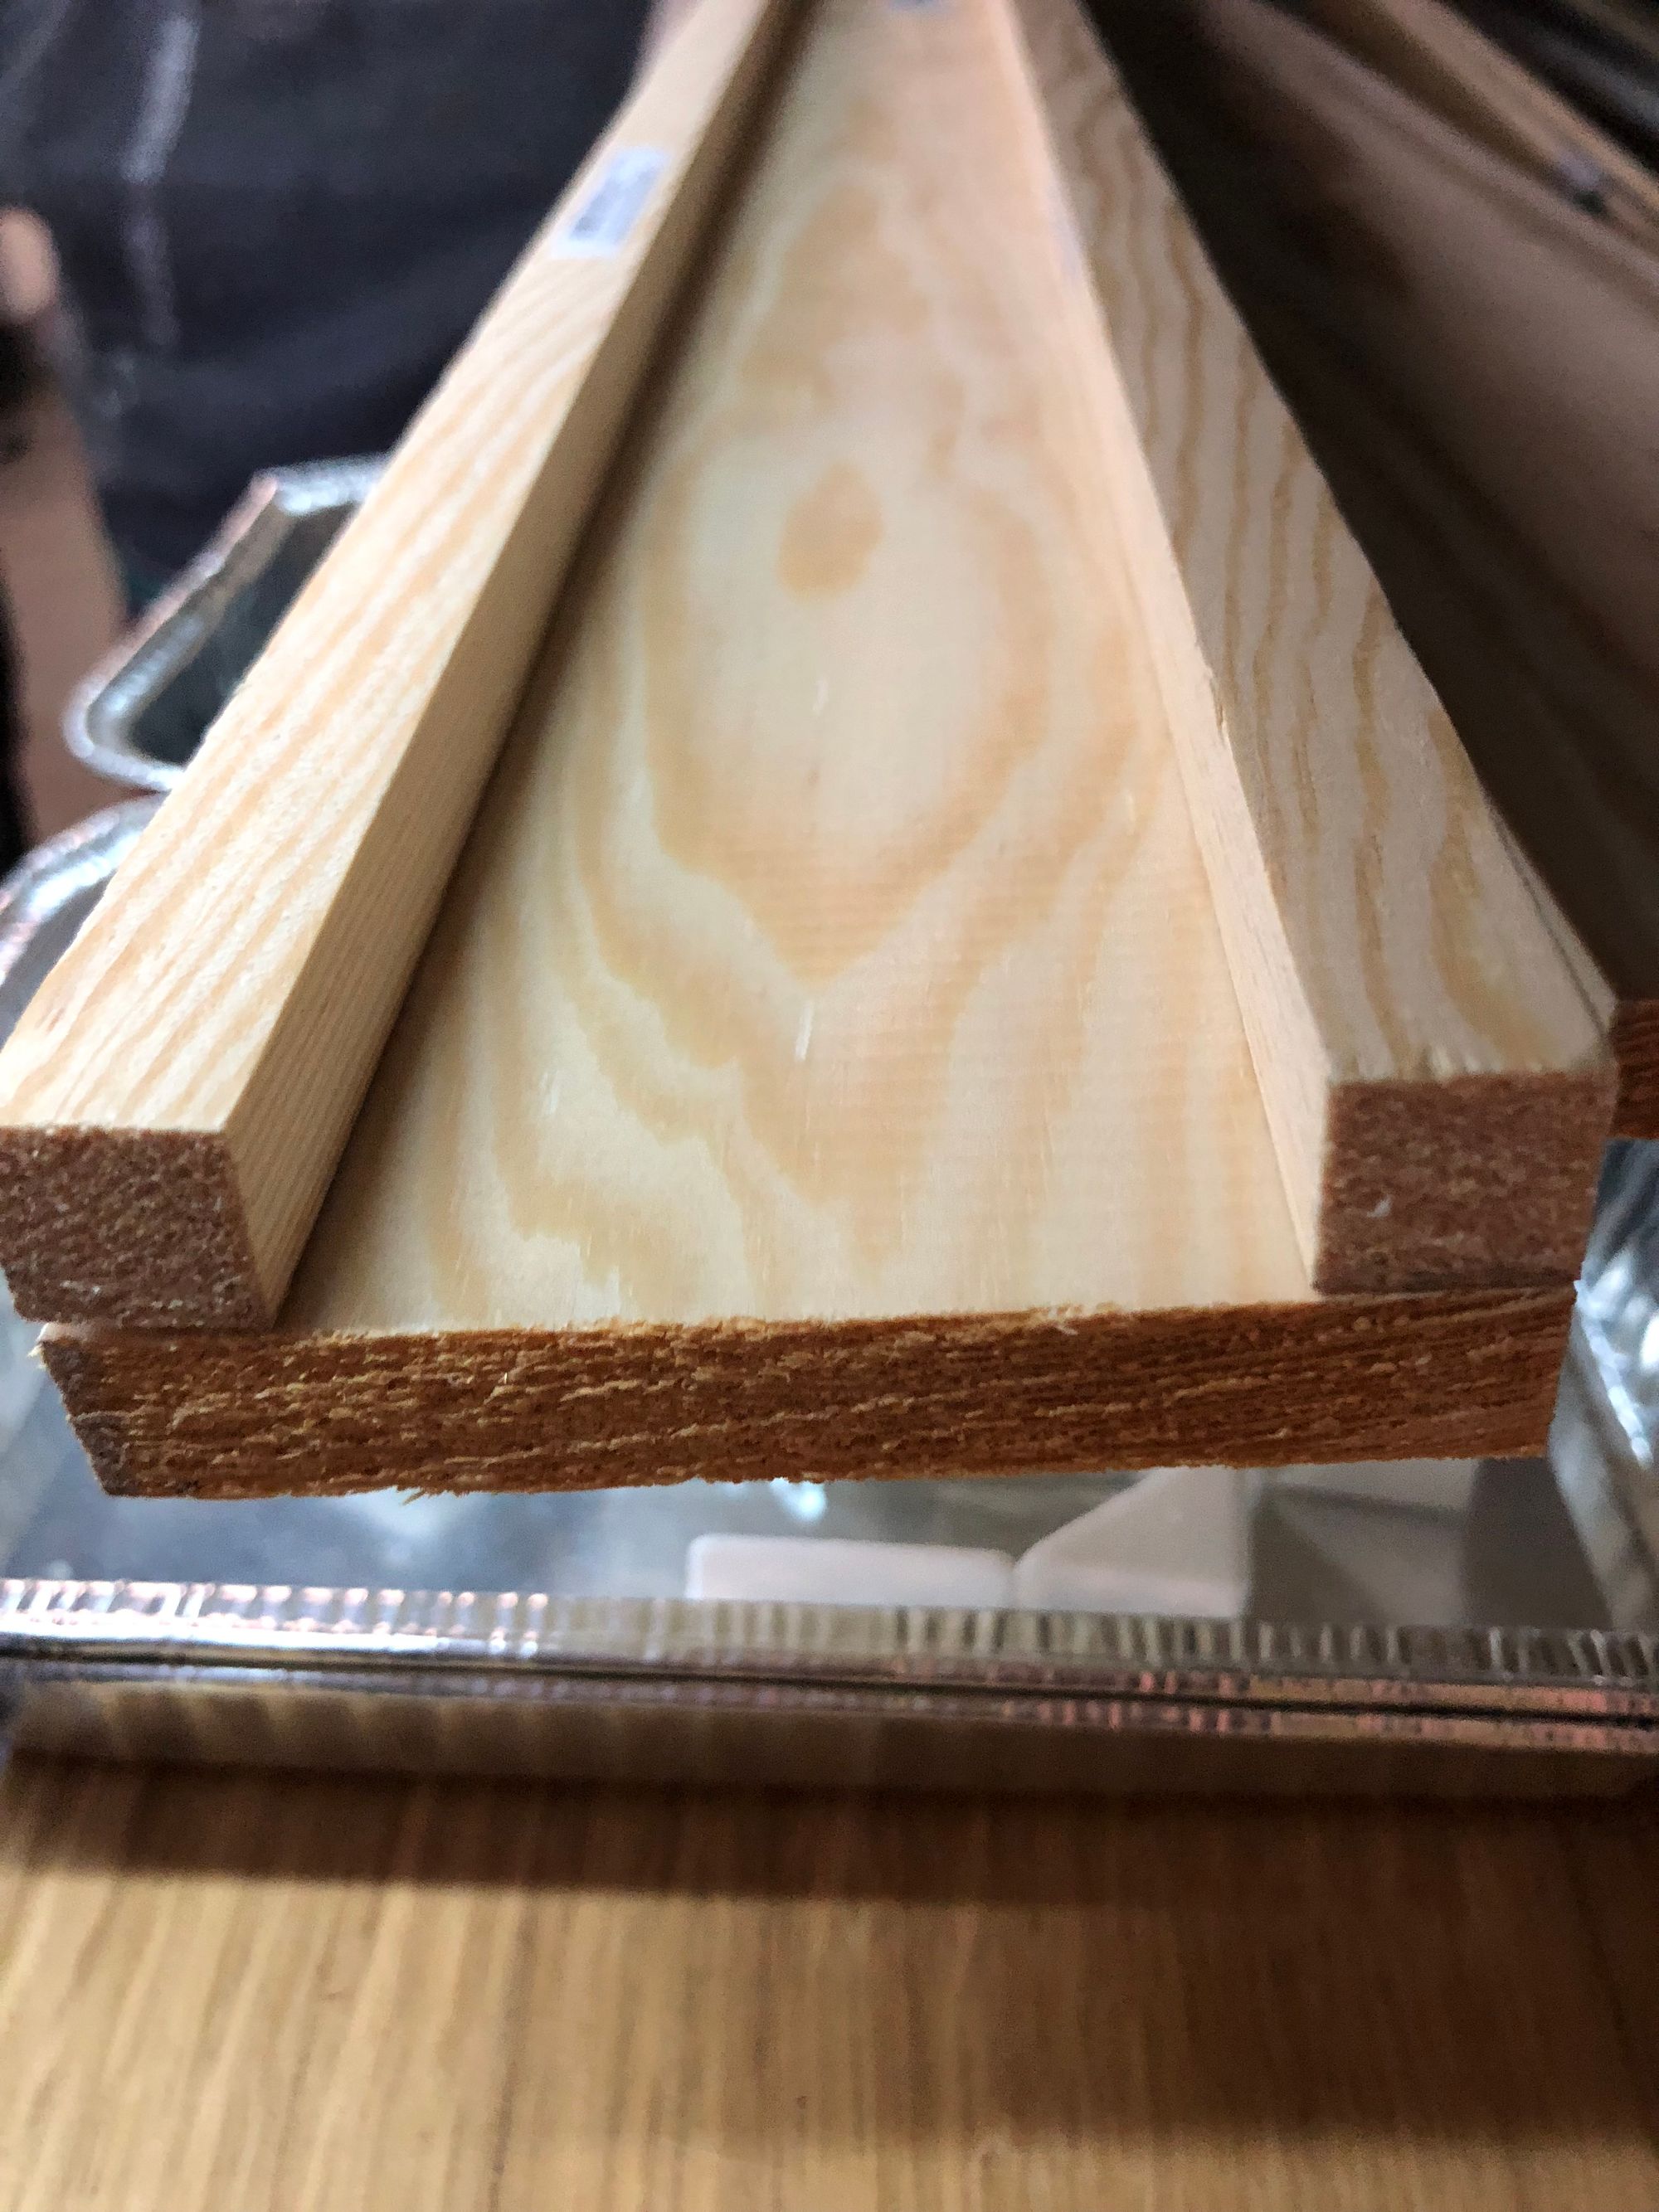
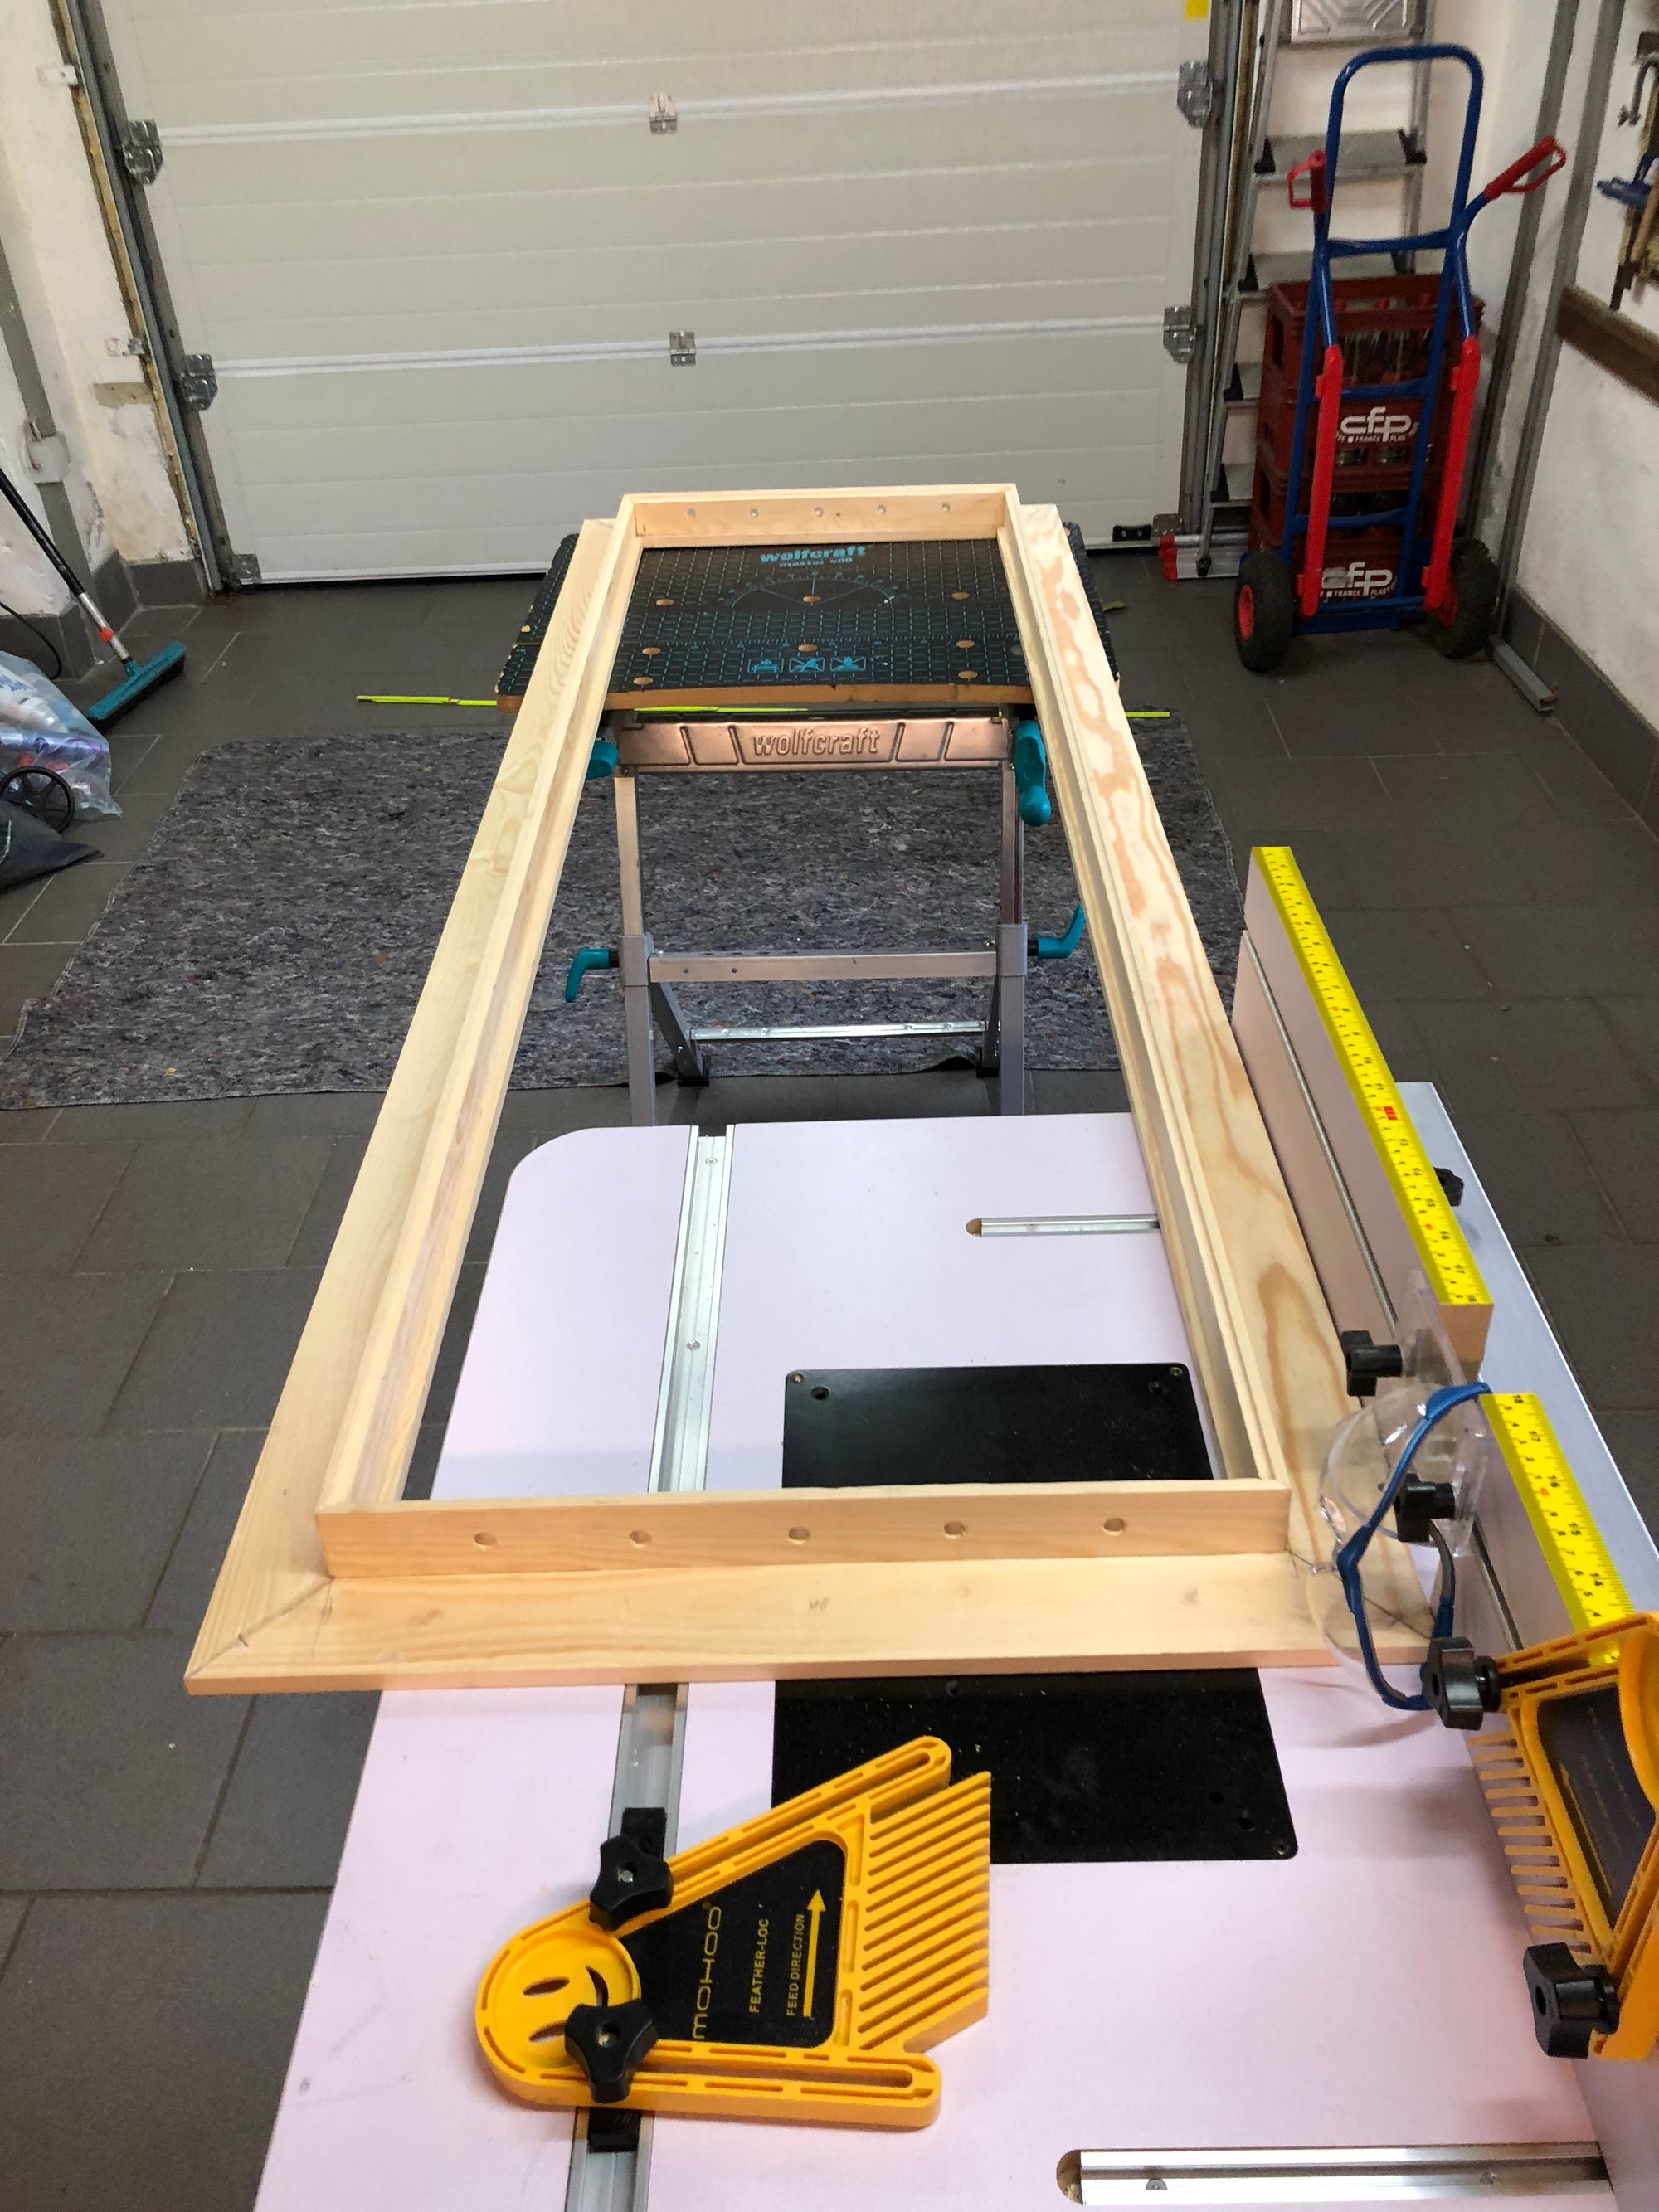
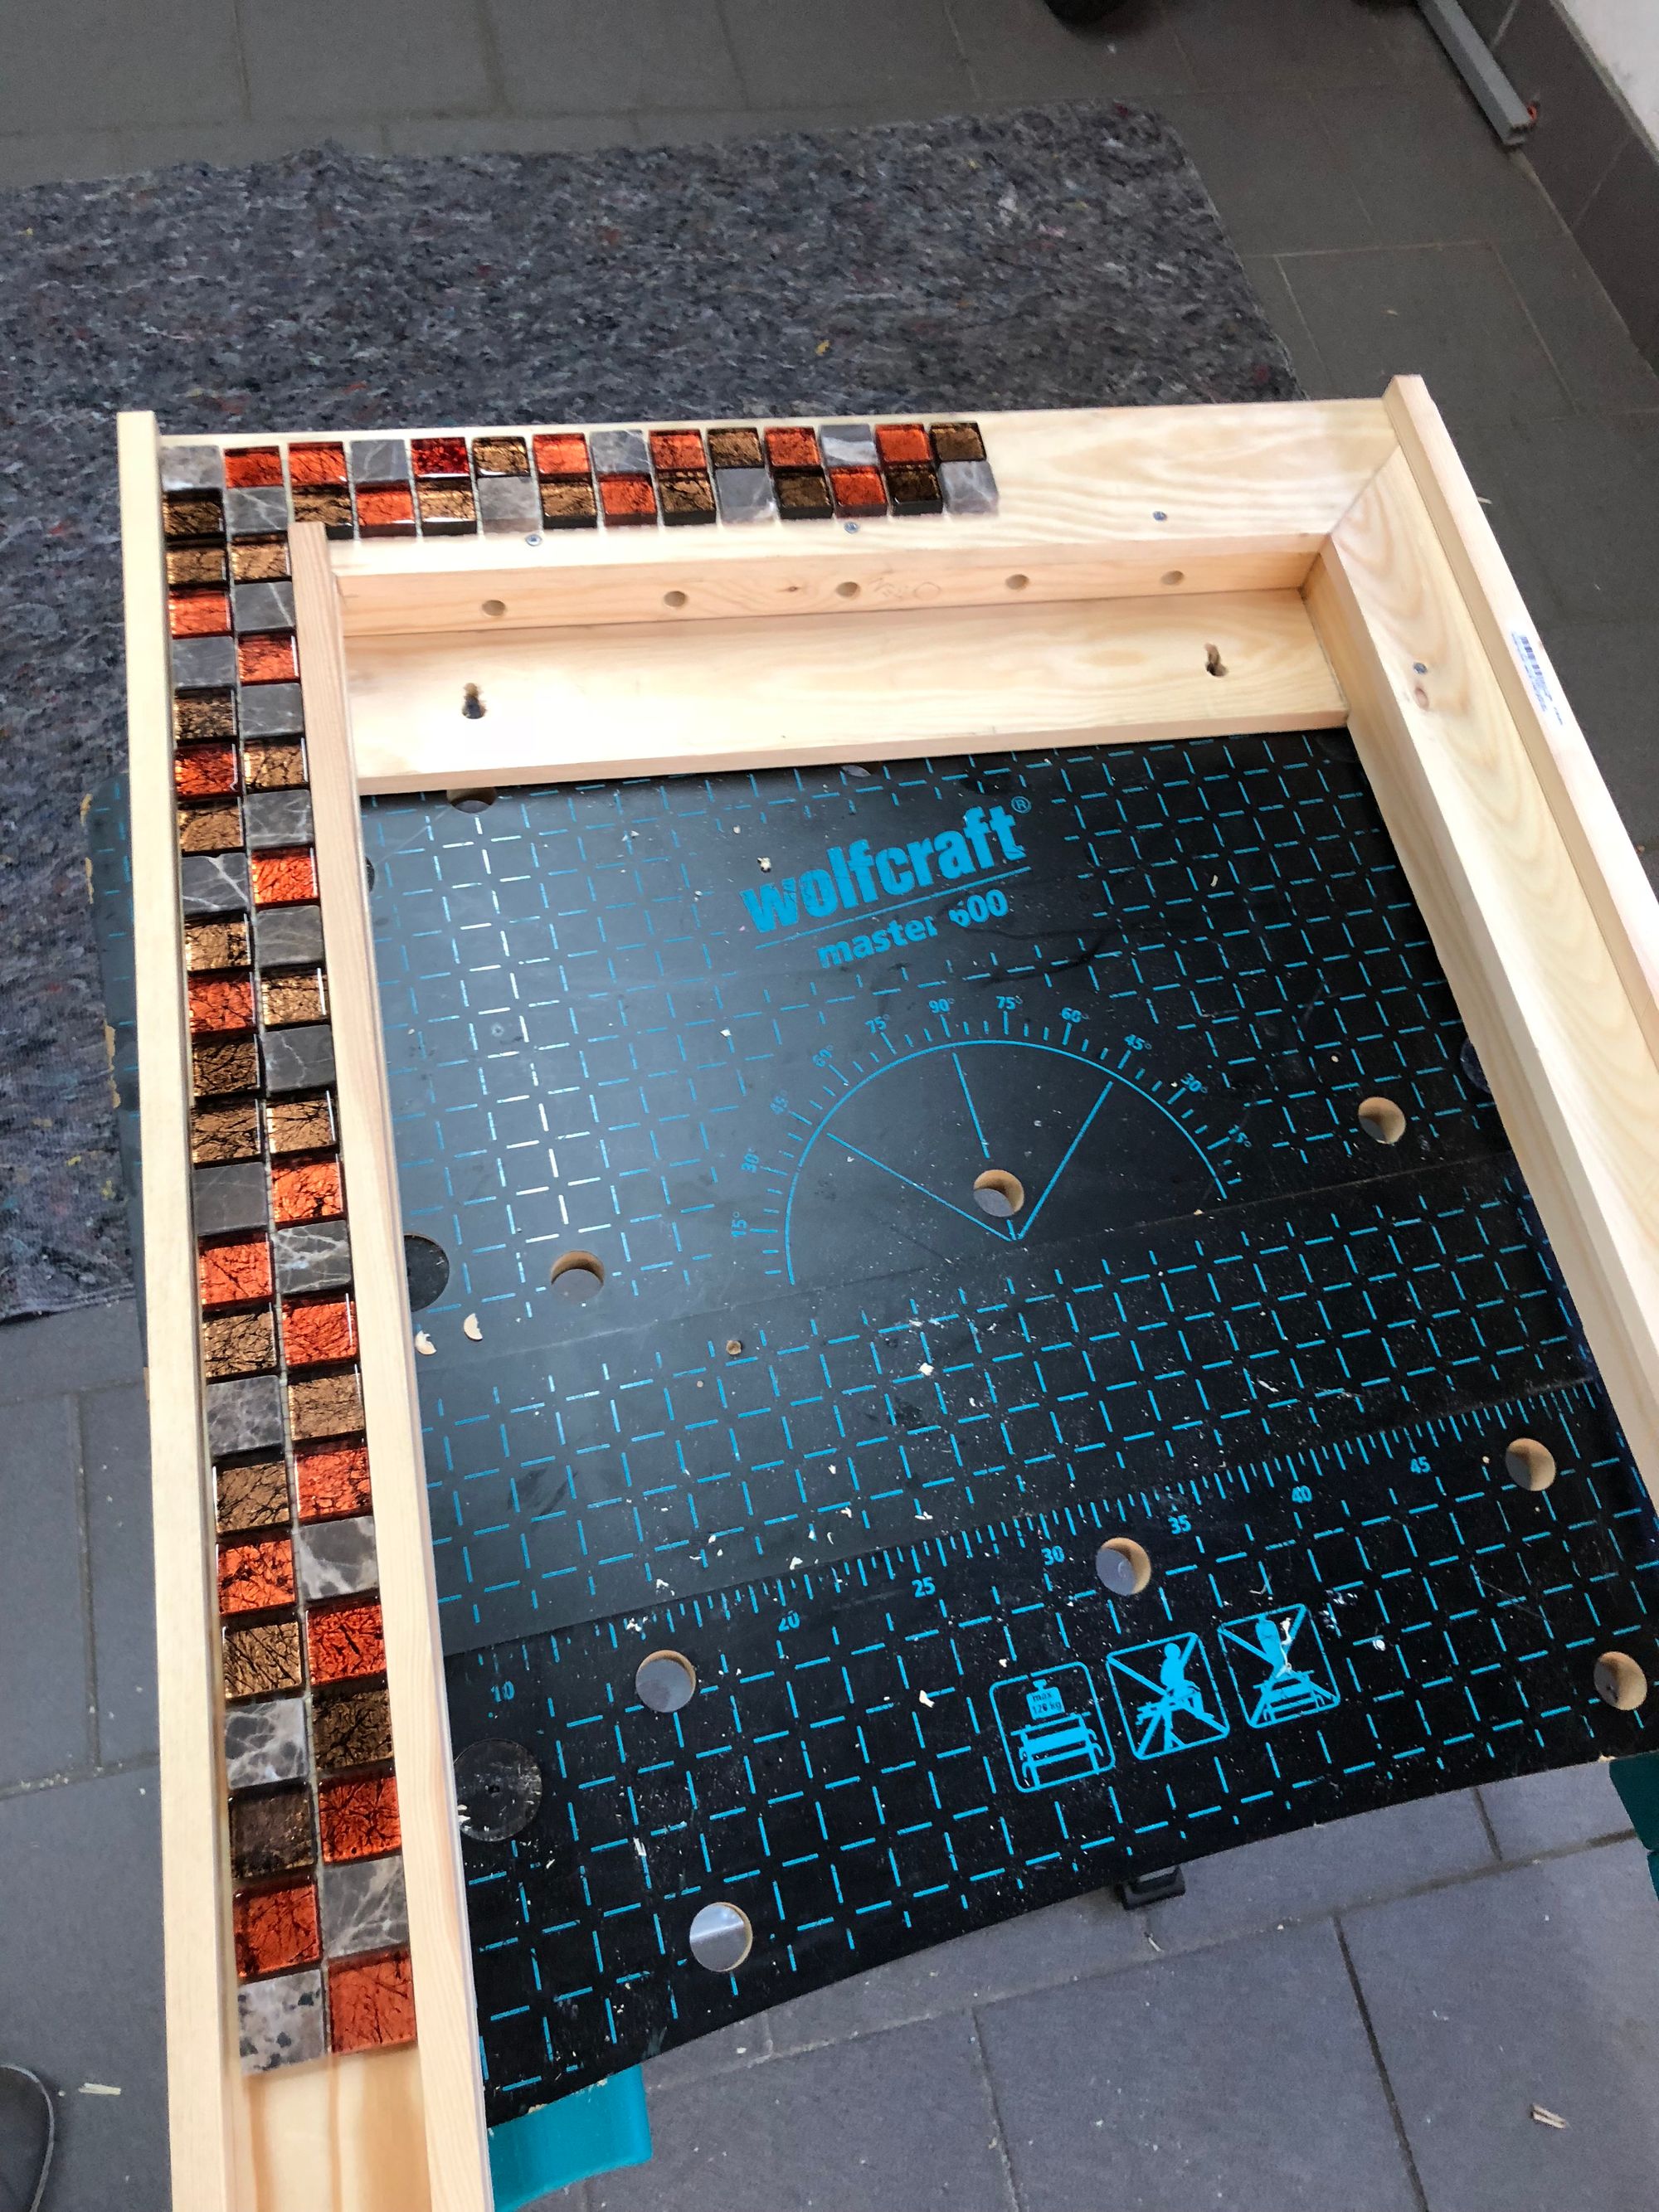

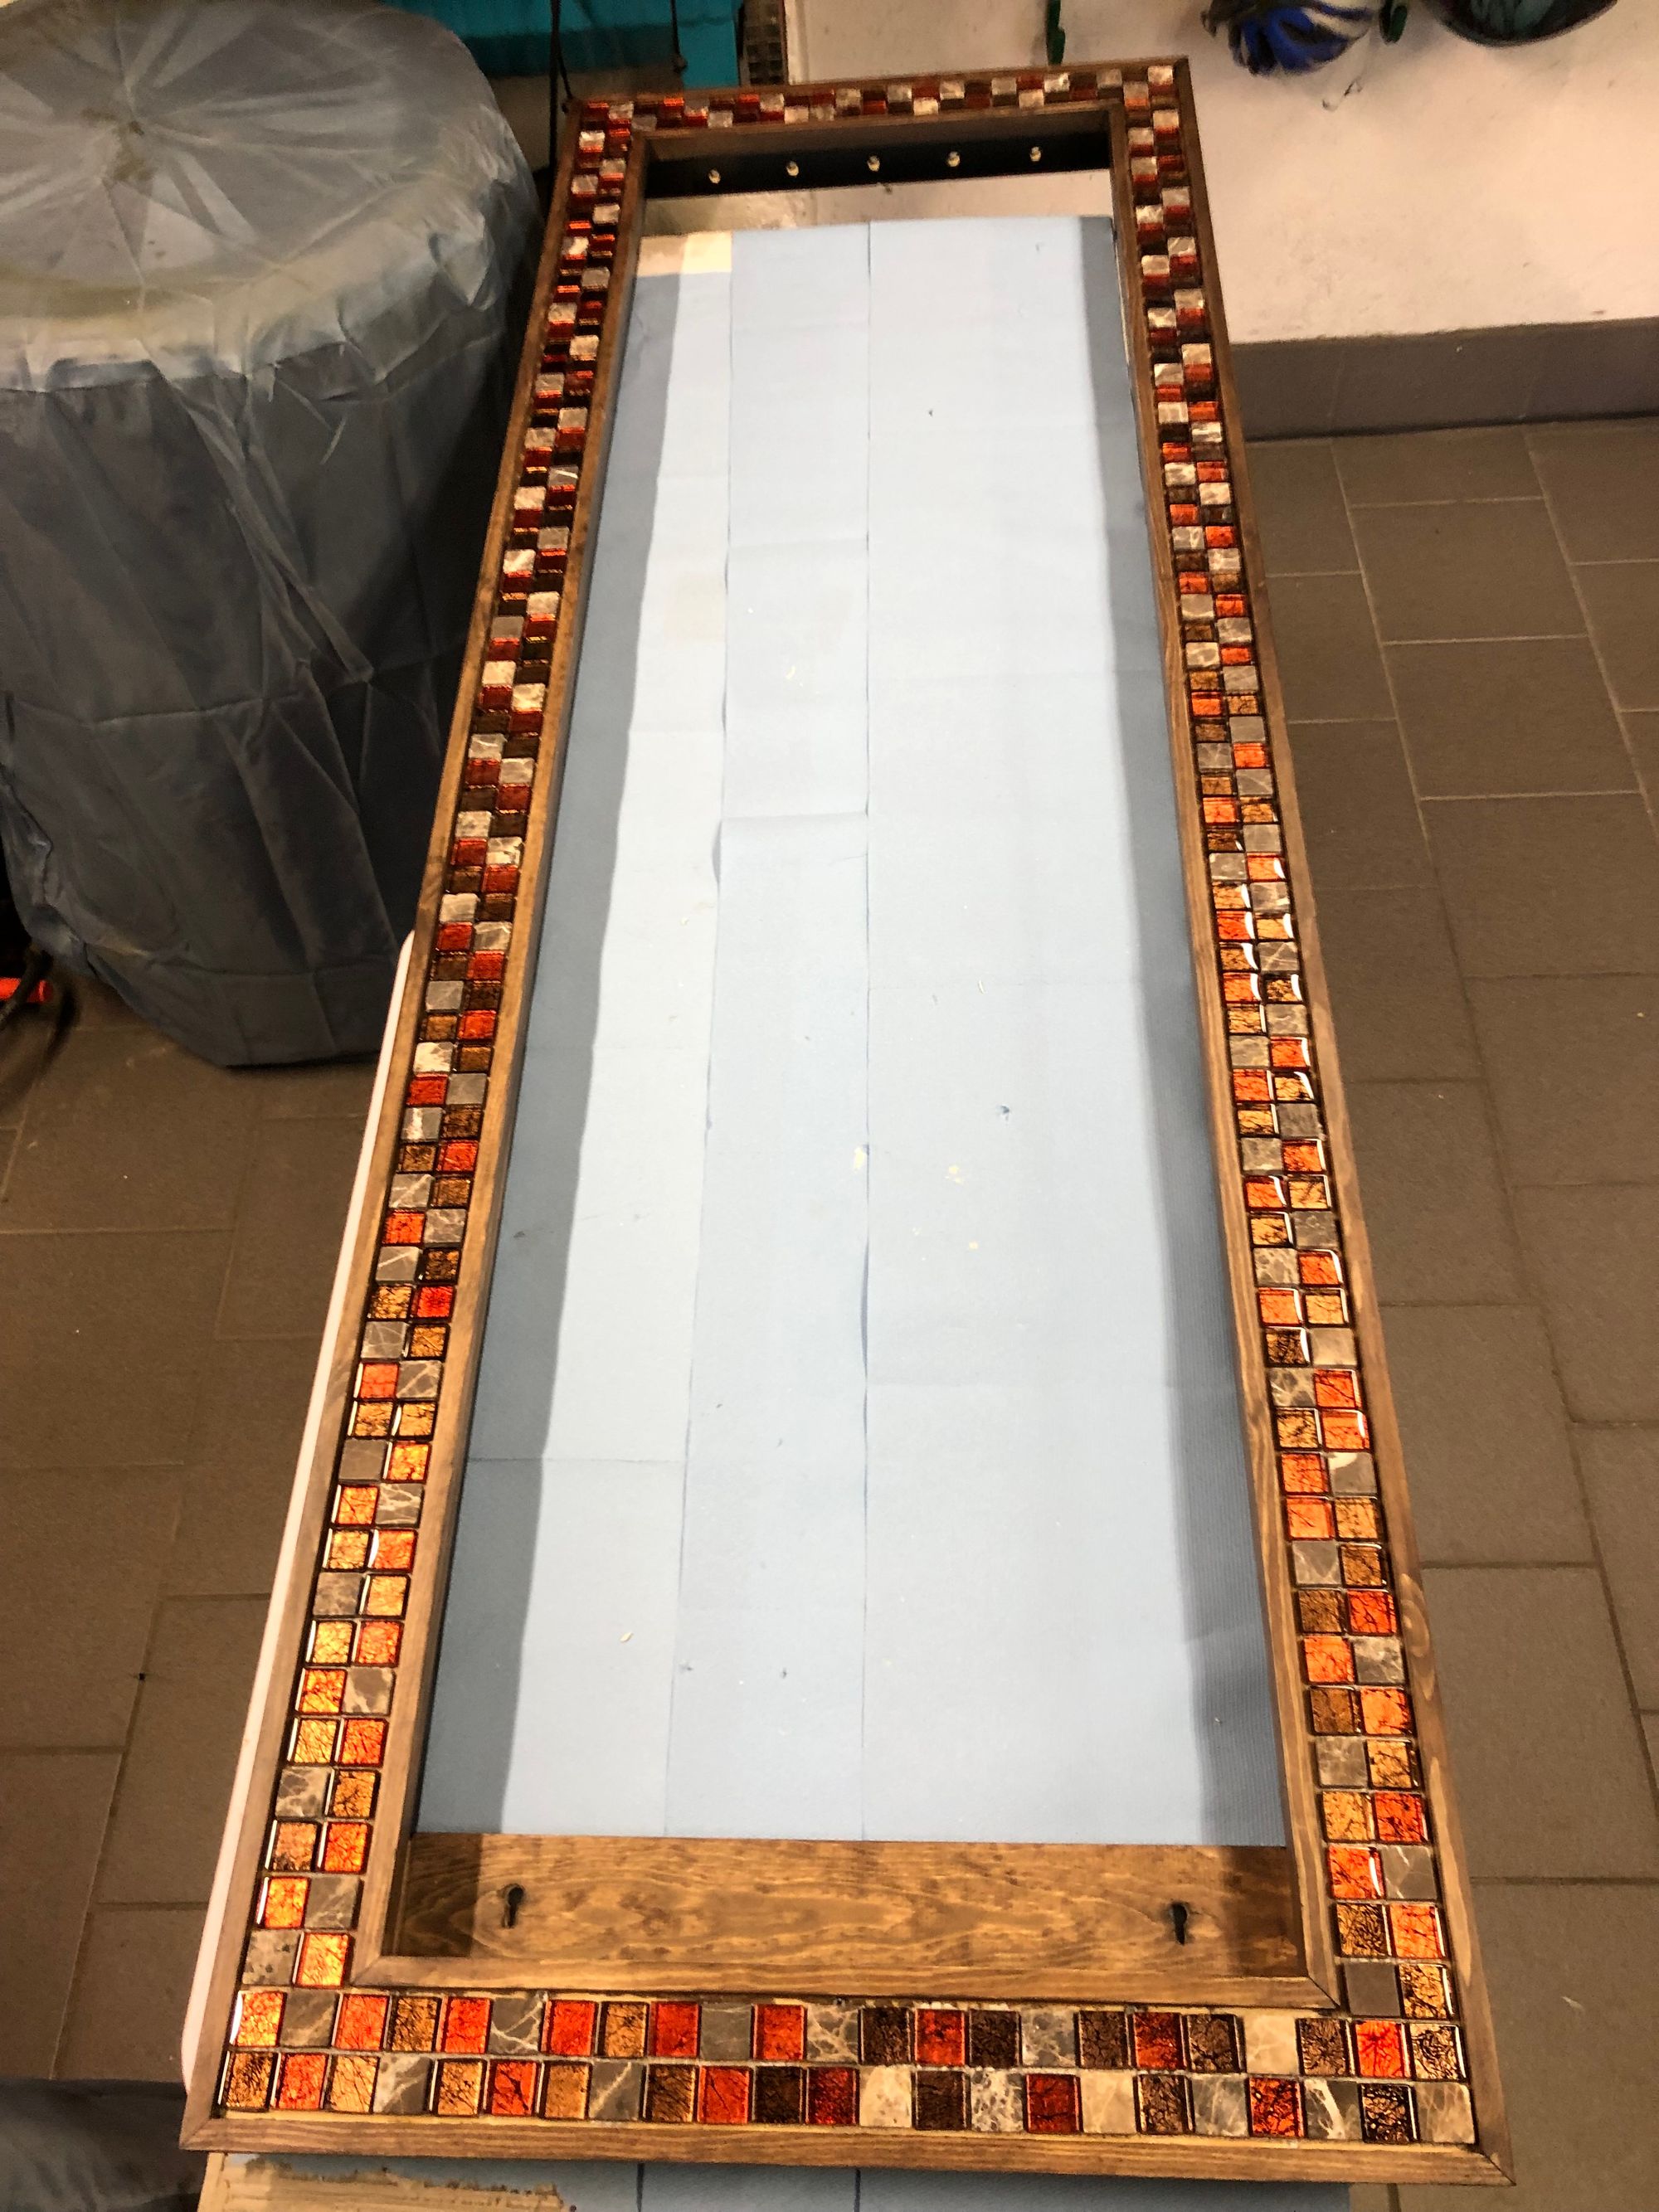
At this moment I want to cancel my project, but the day after I found new energy, and a new idea to avoid this to happen again. It was simple. I took smaller tiles and put them closer together, without a gap. I glued the tiles with wood glue all around.
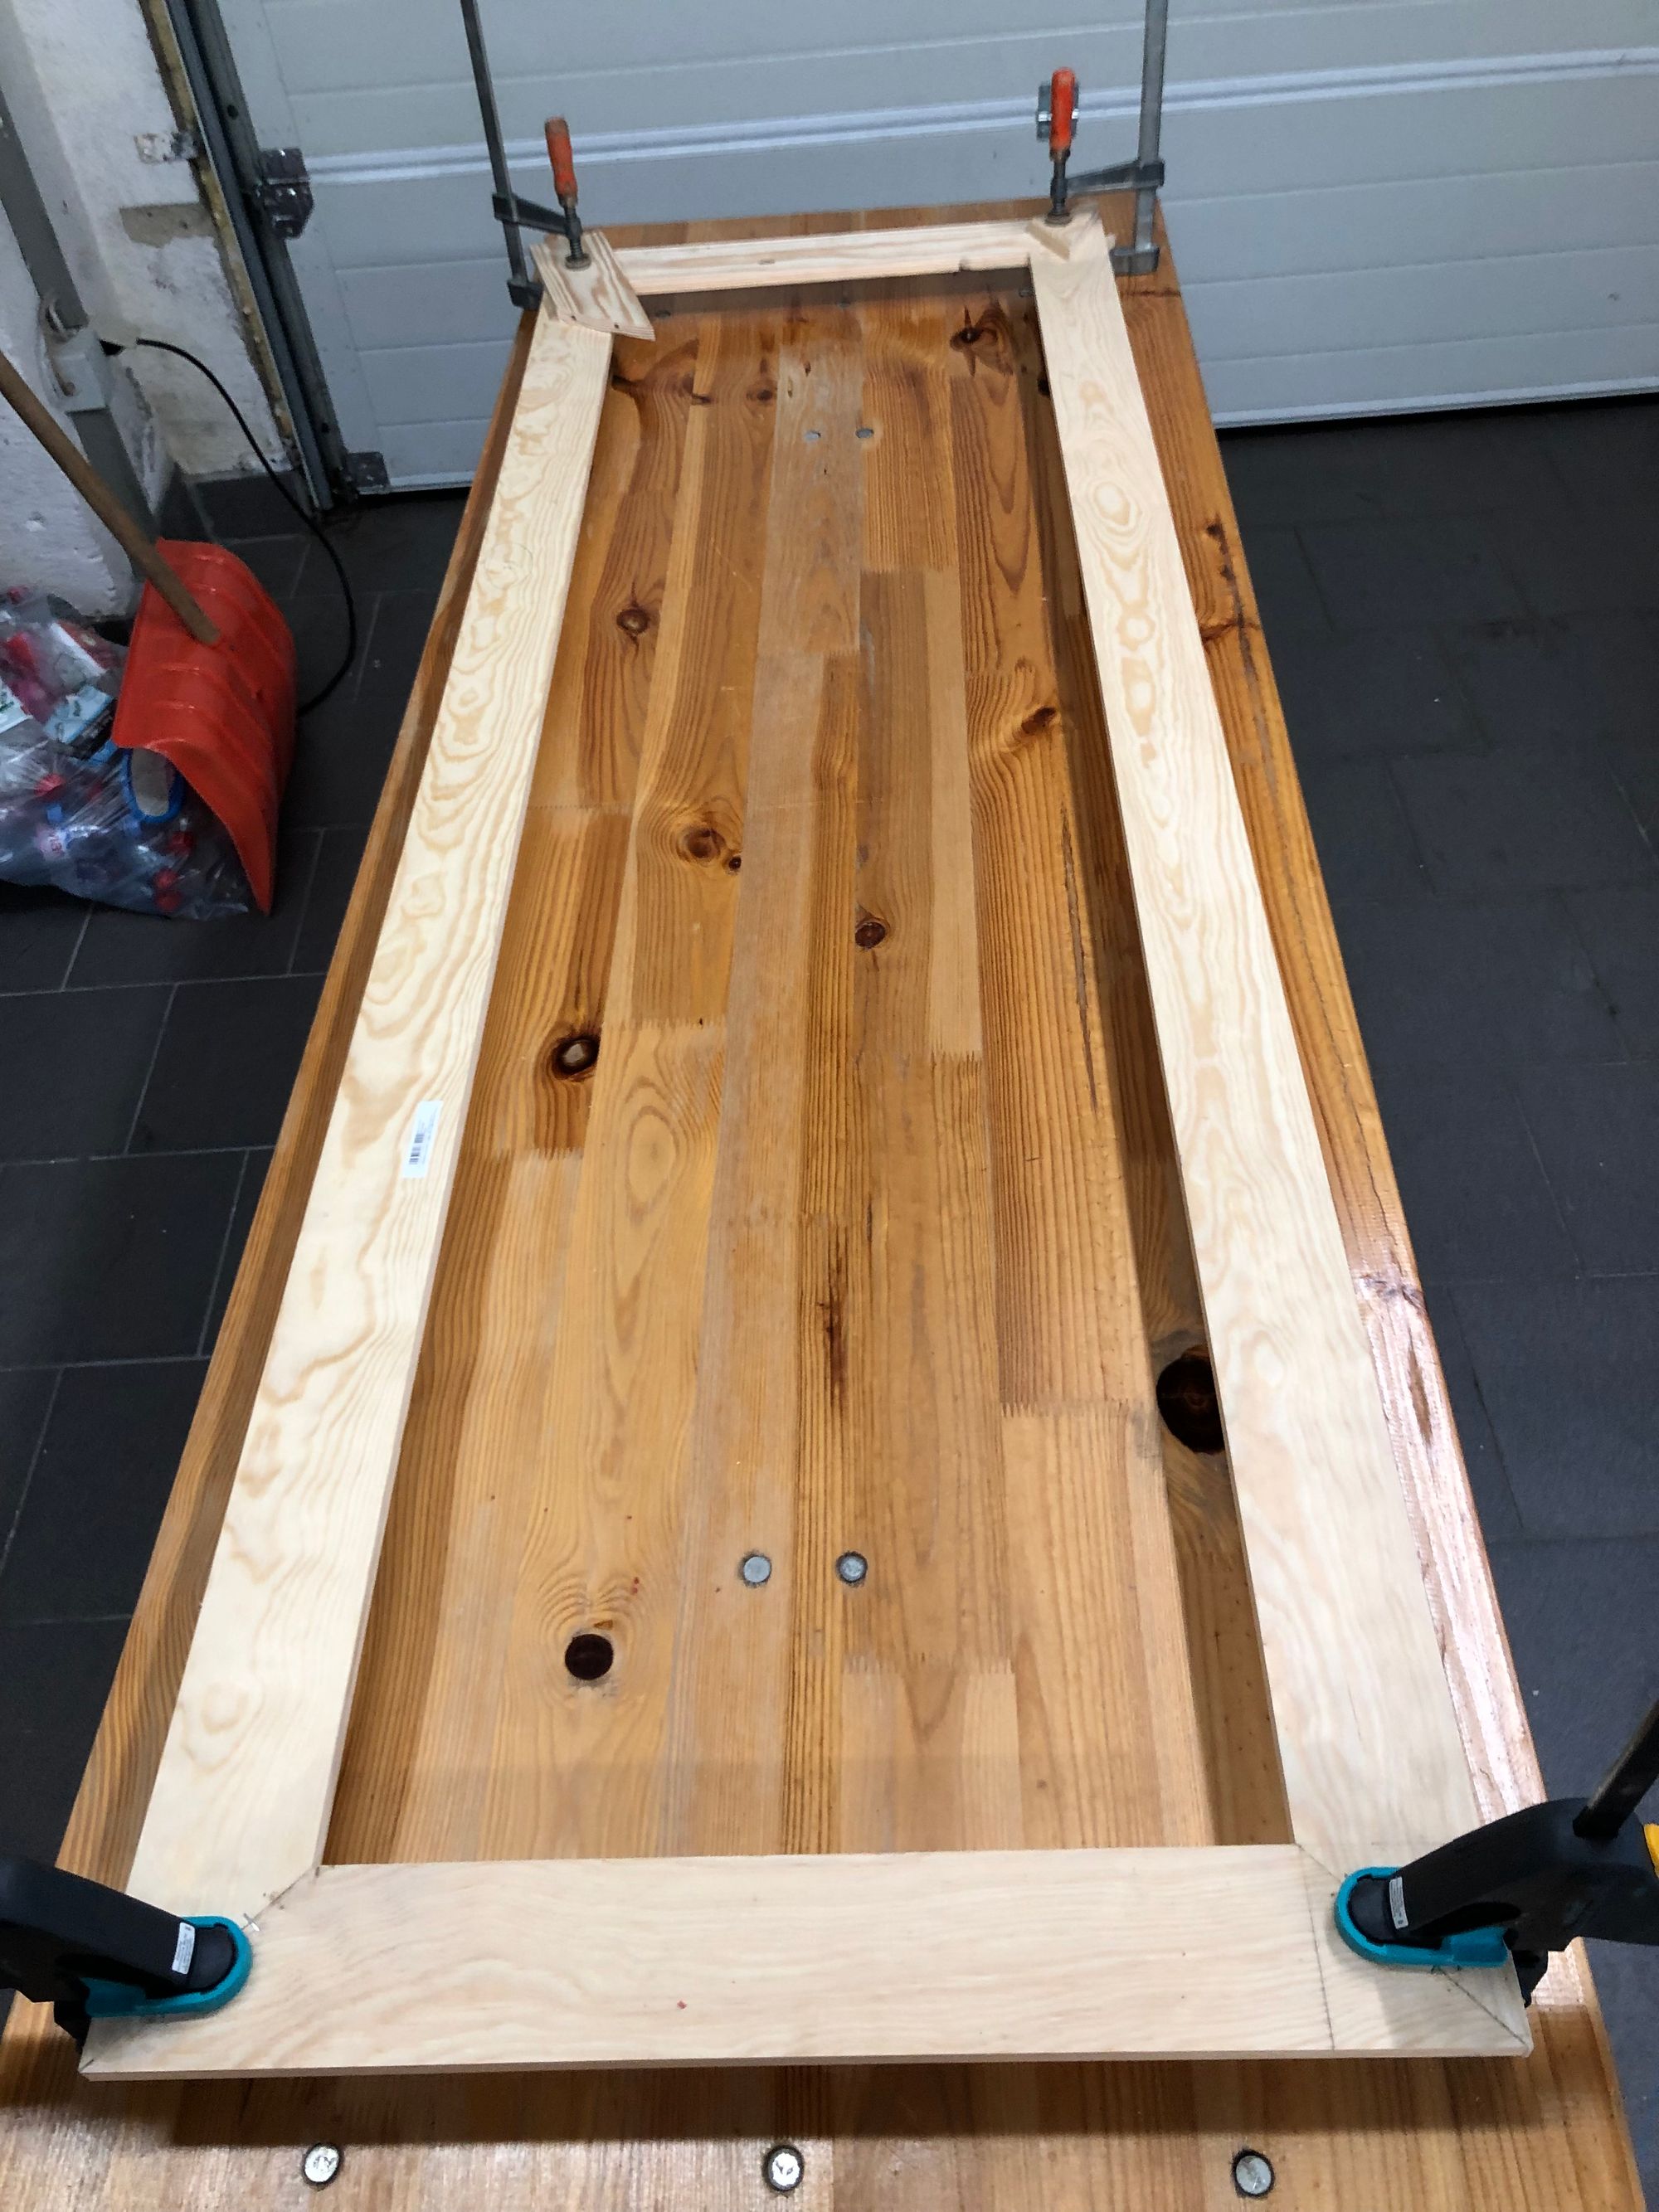
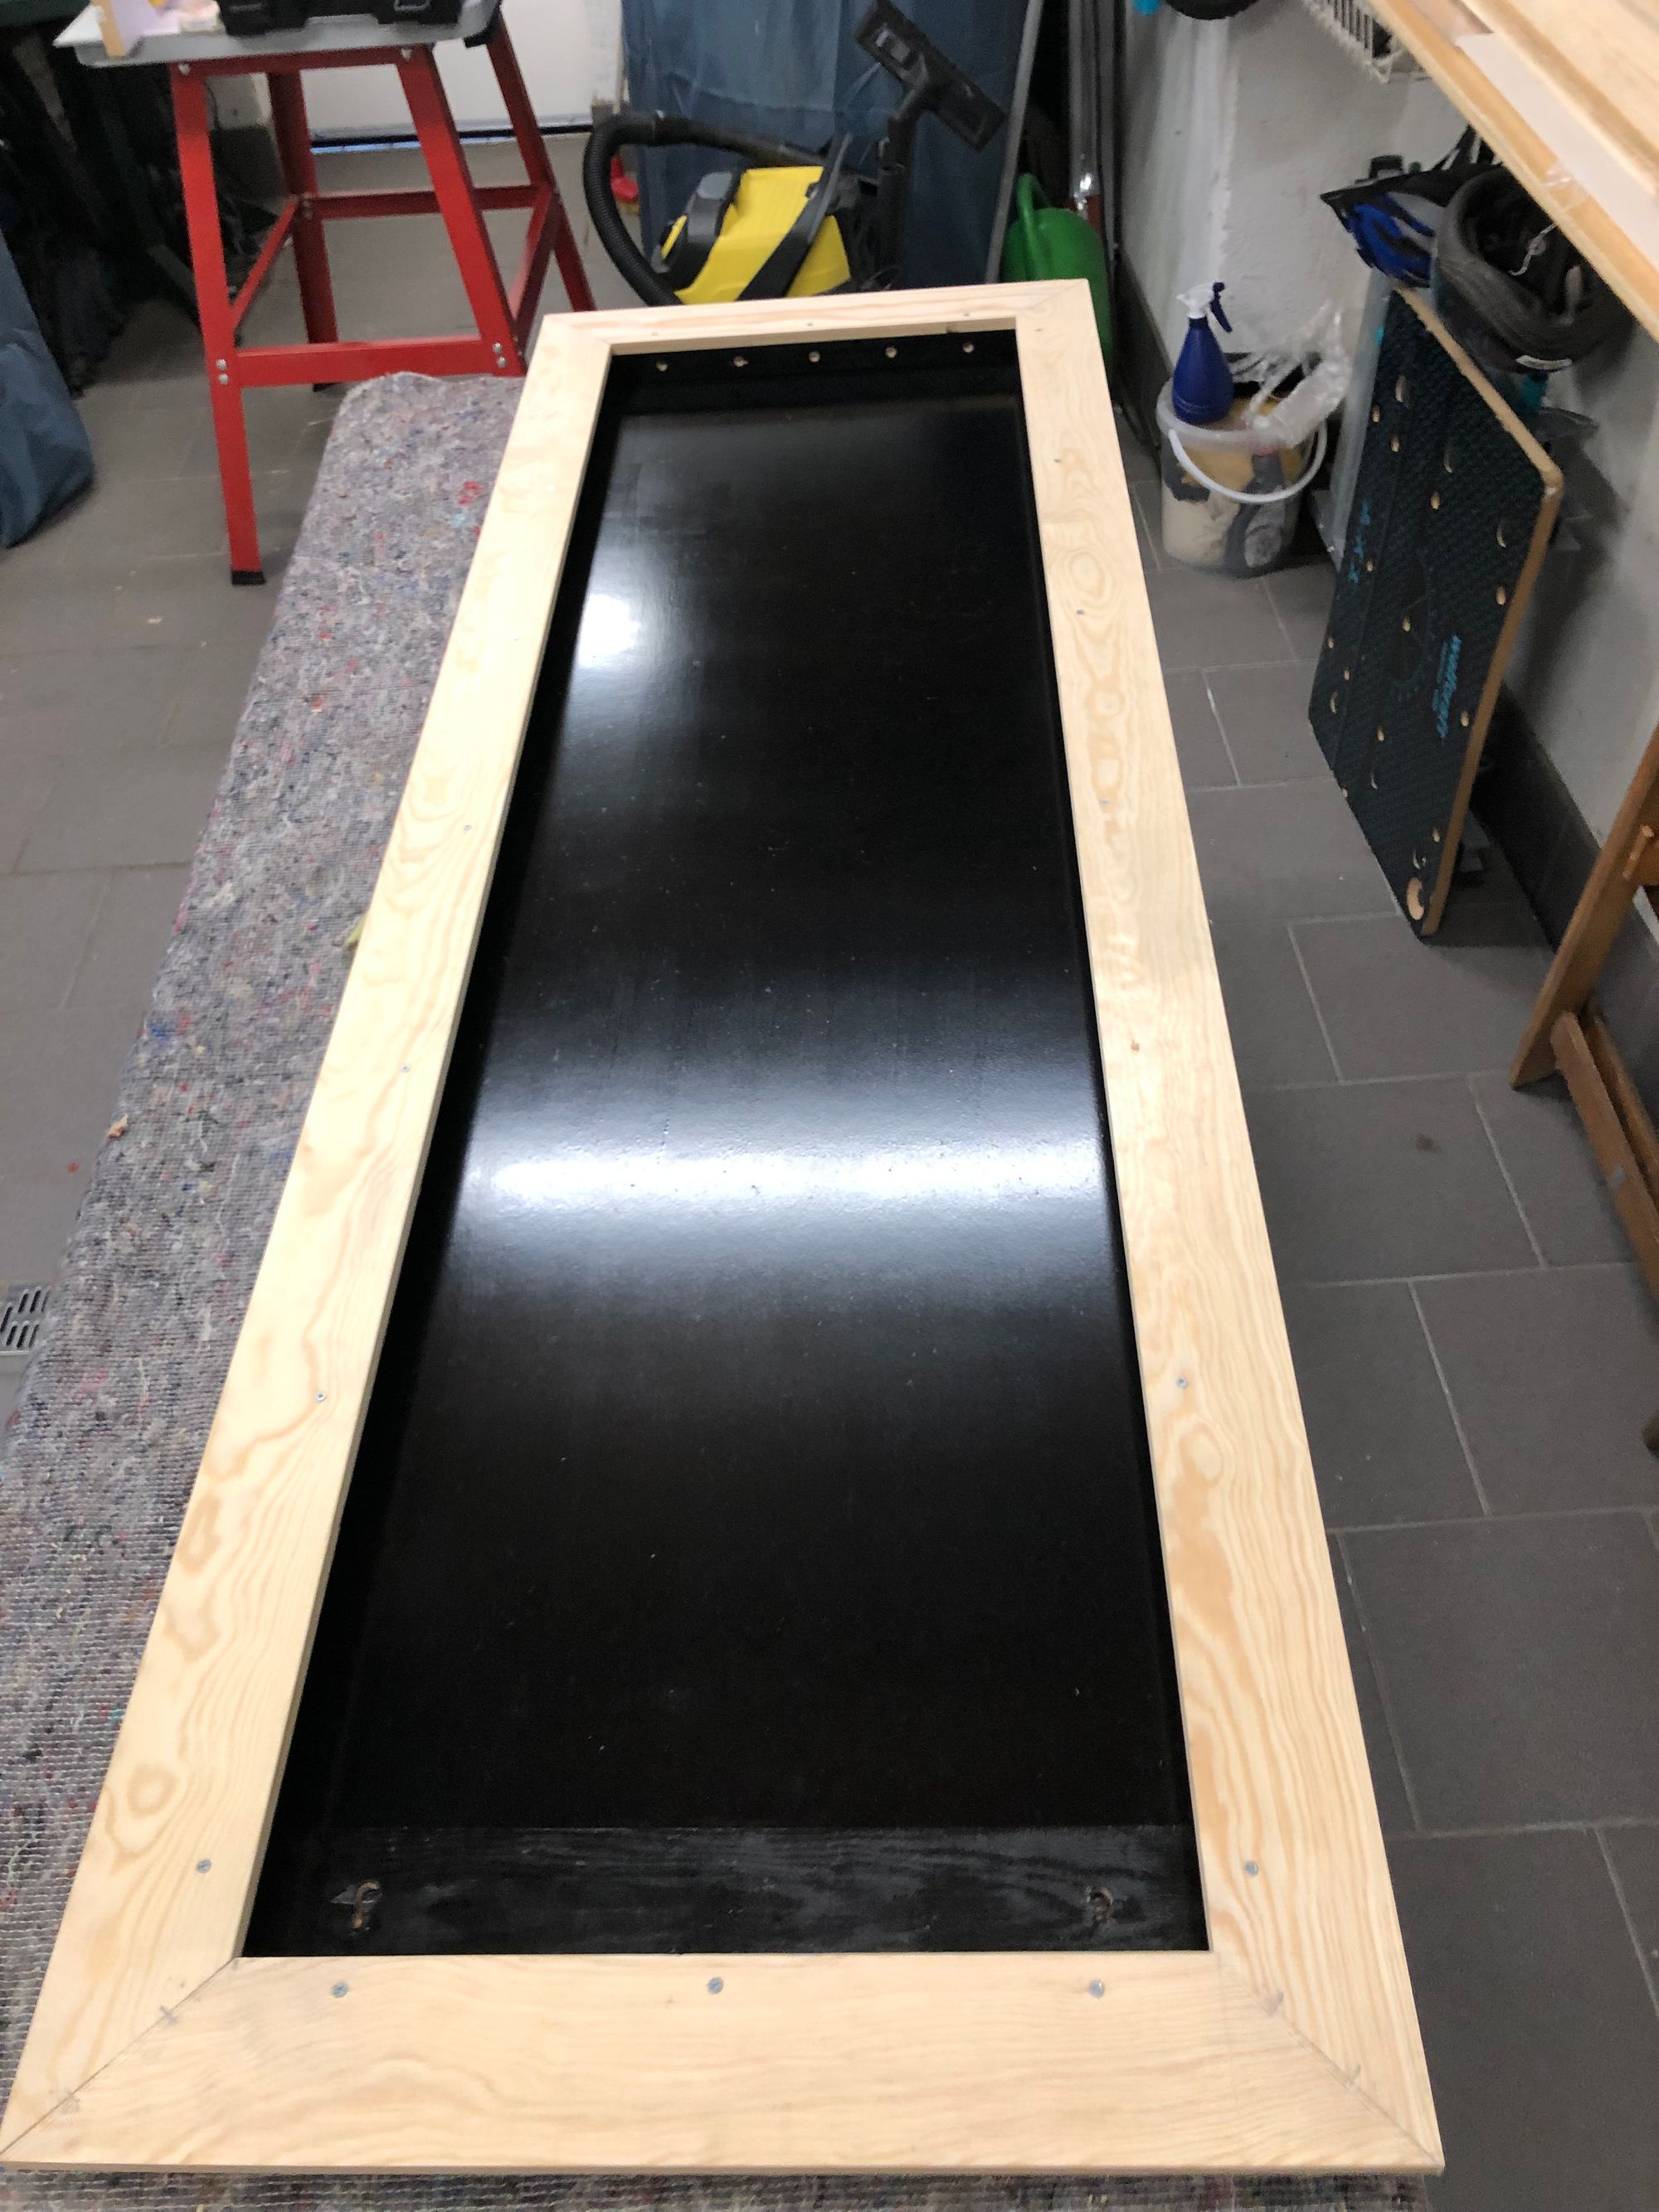

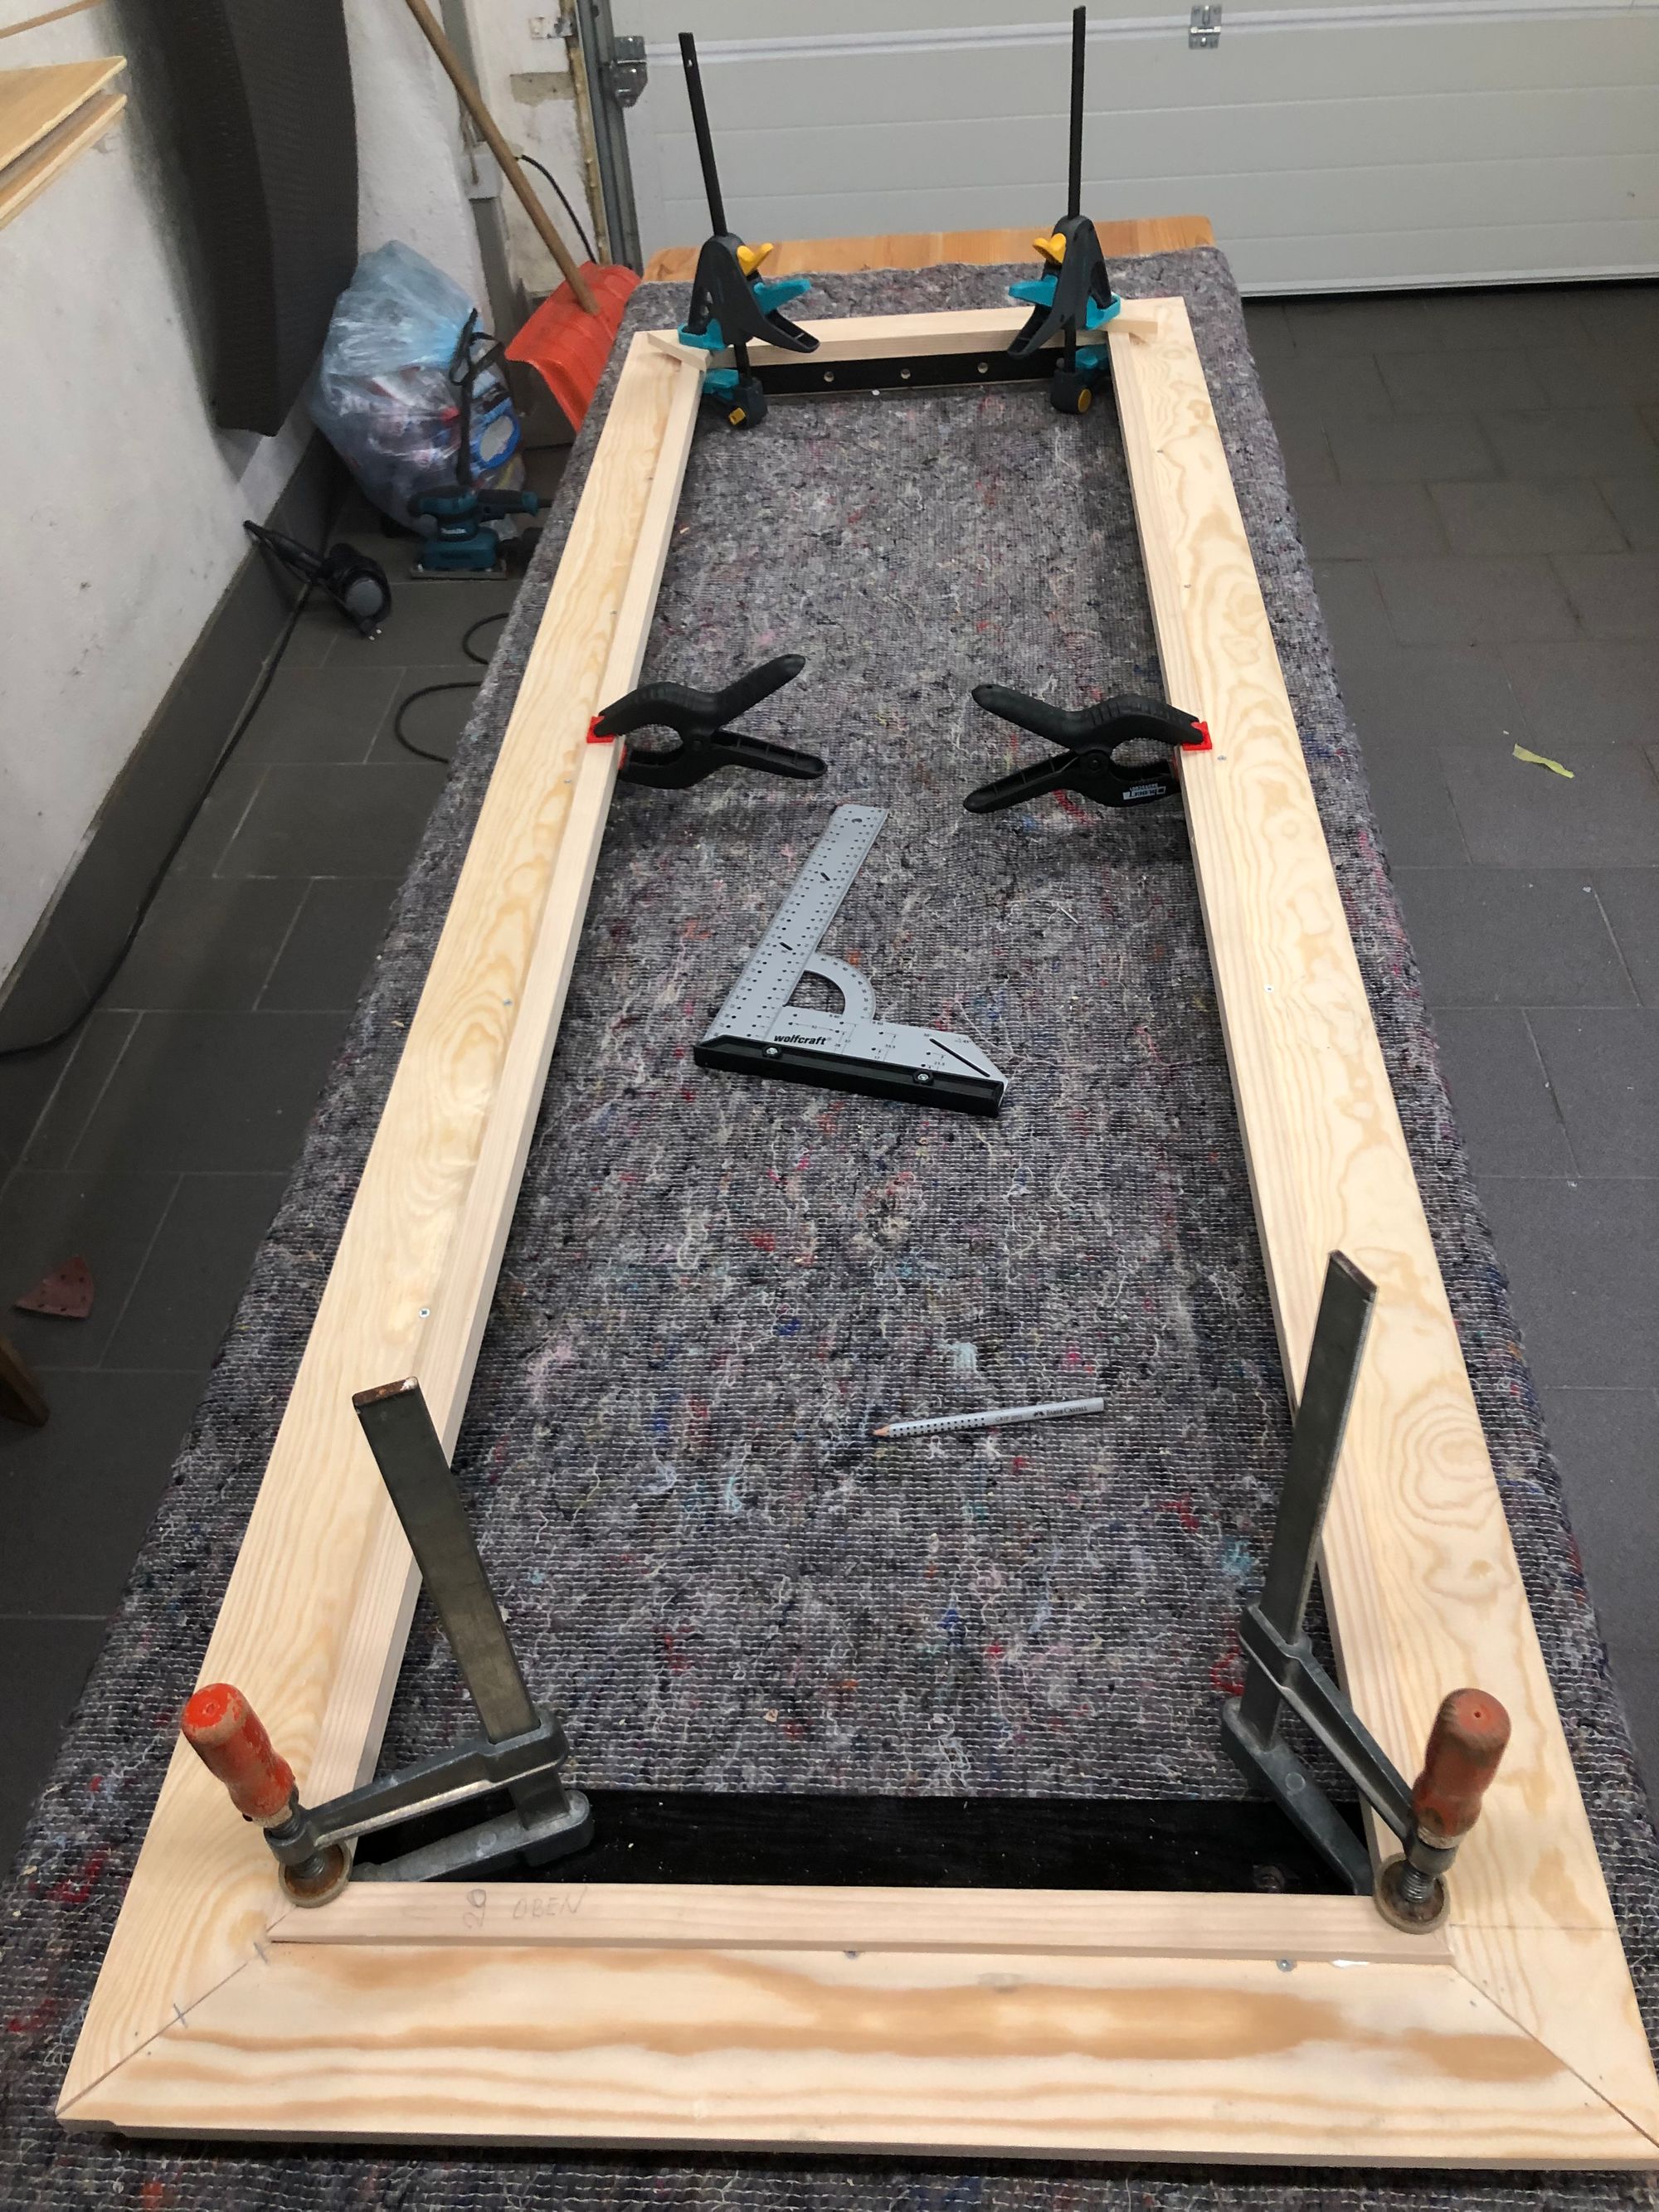
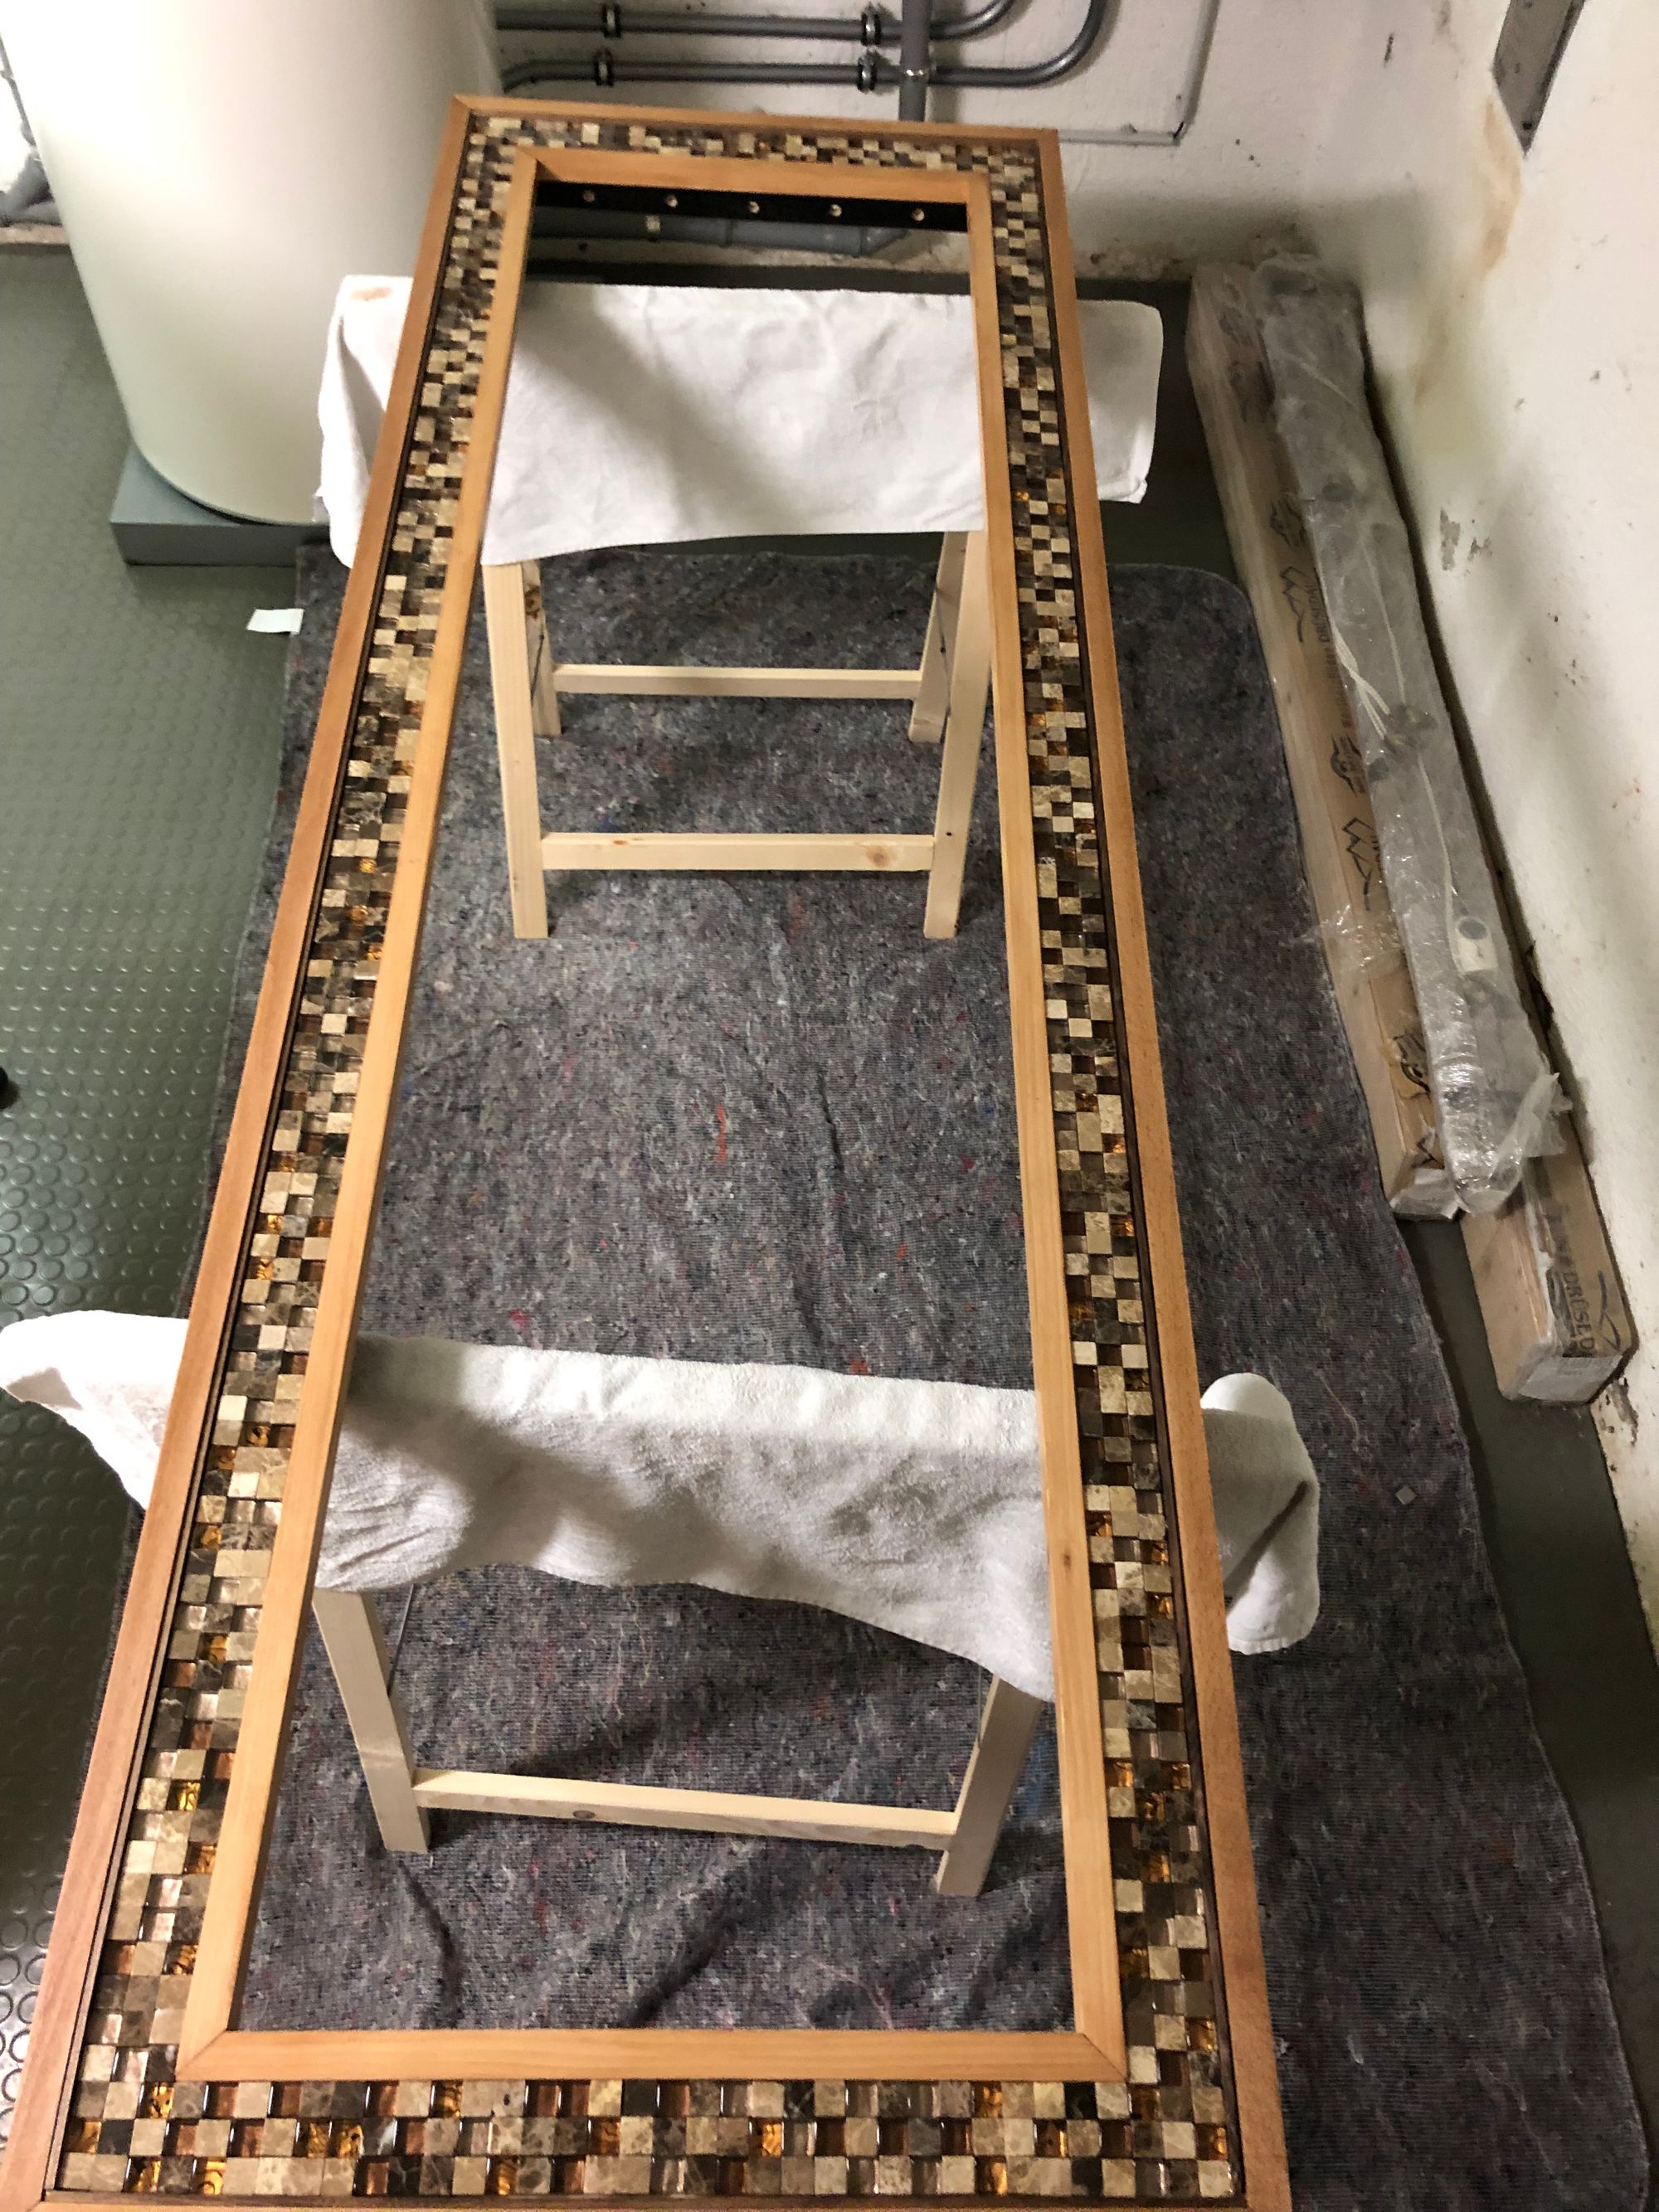
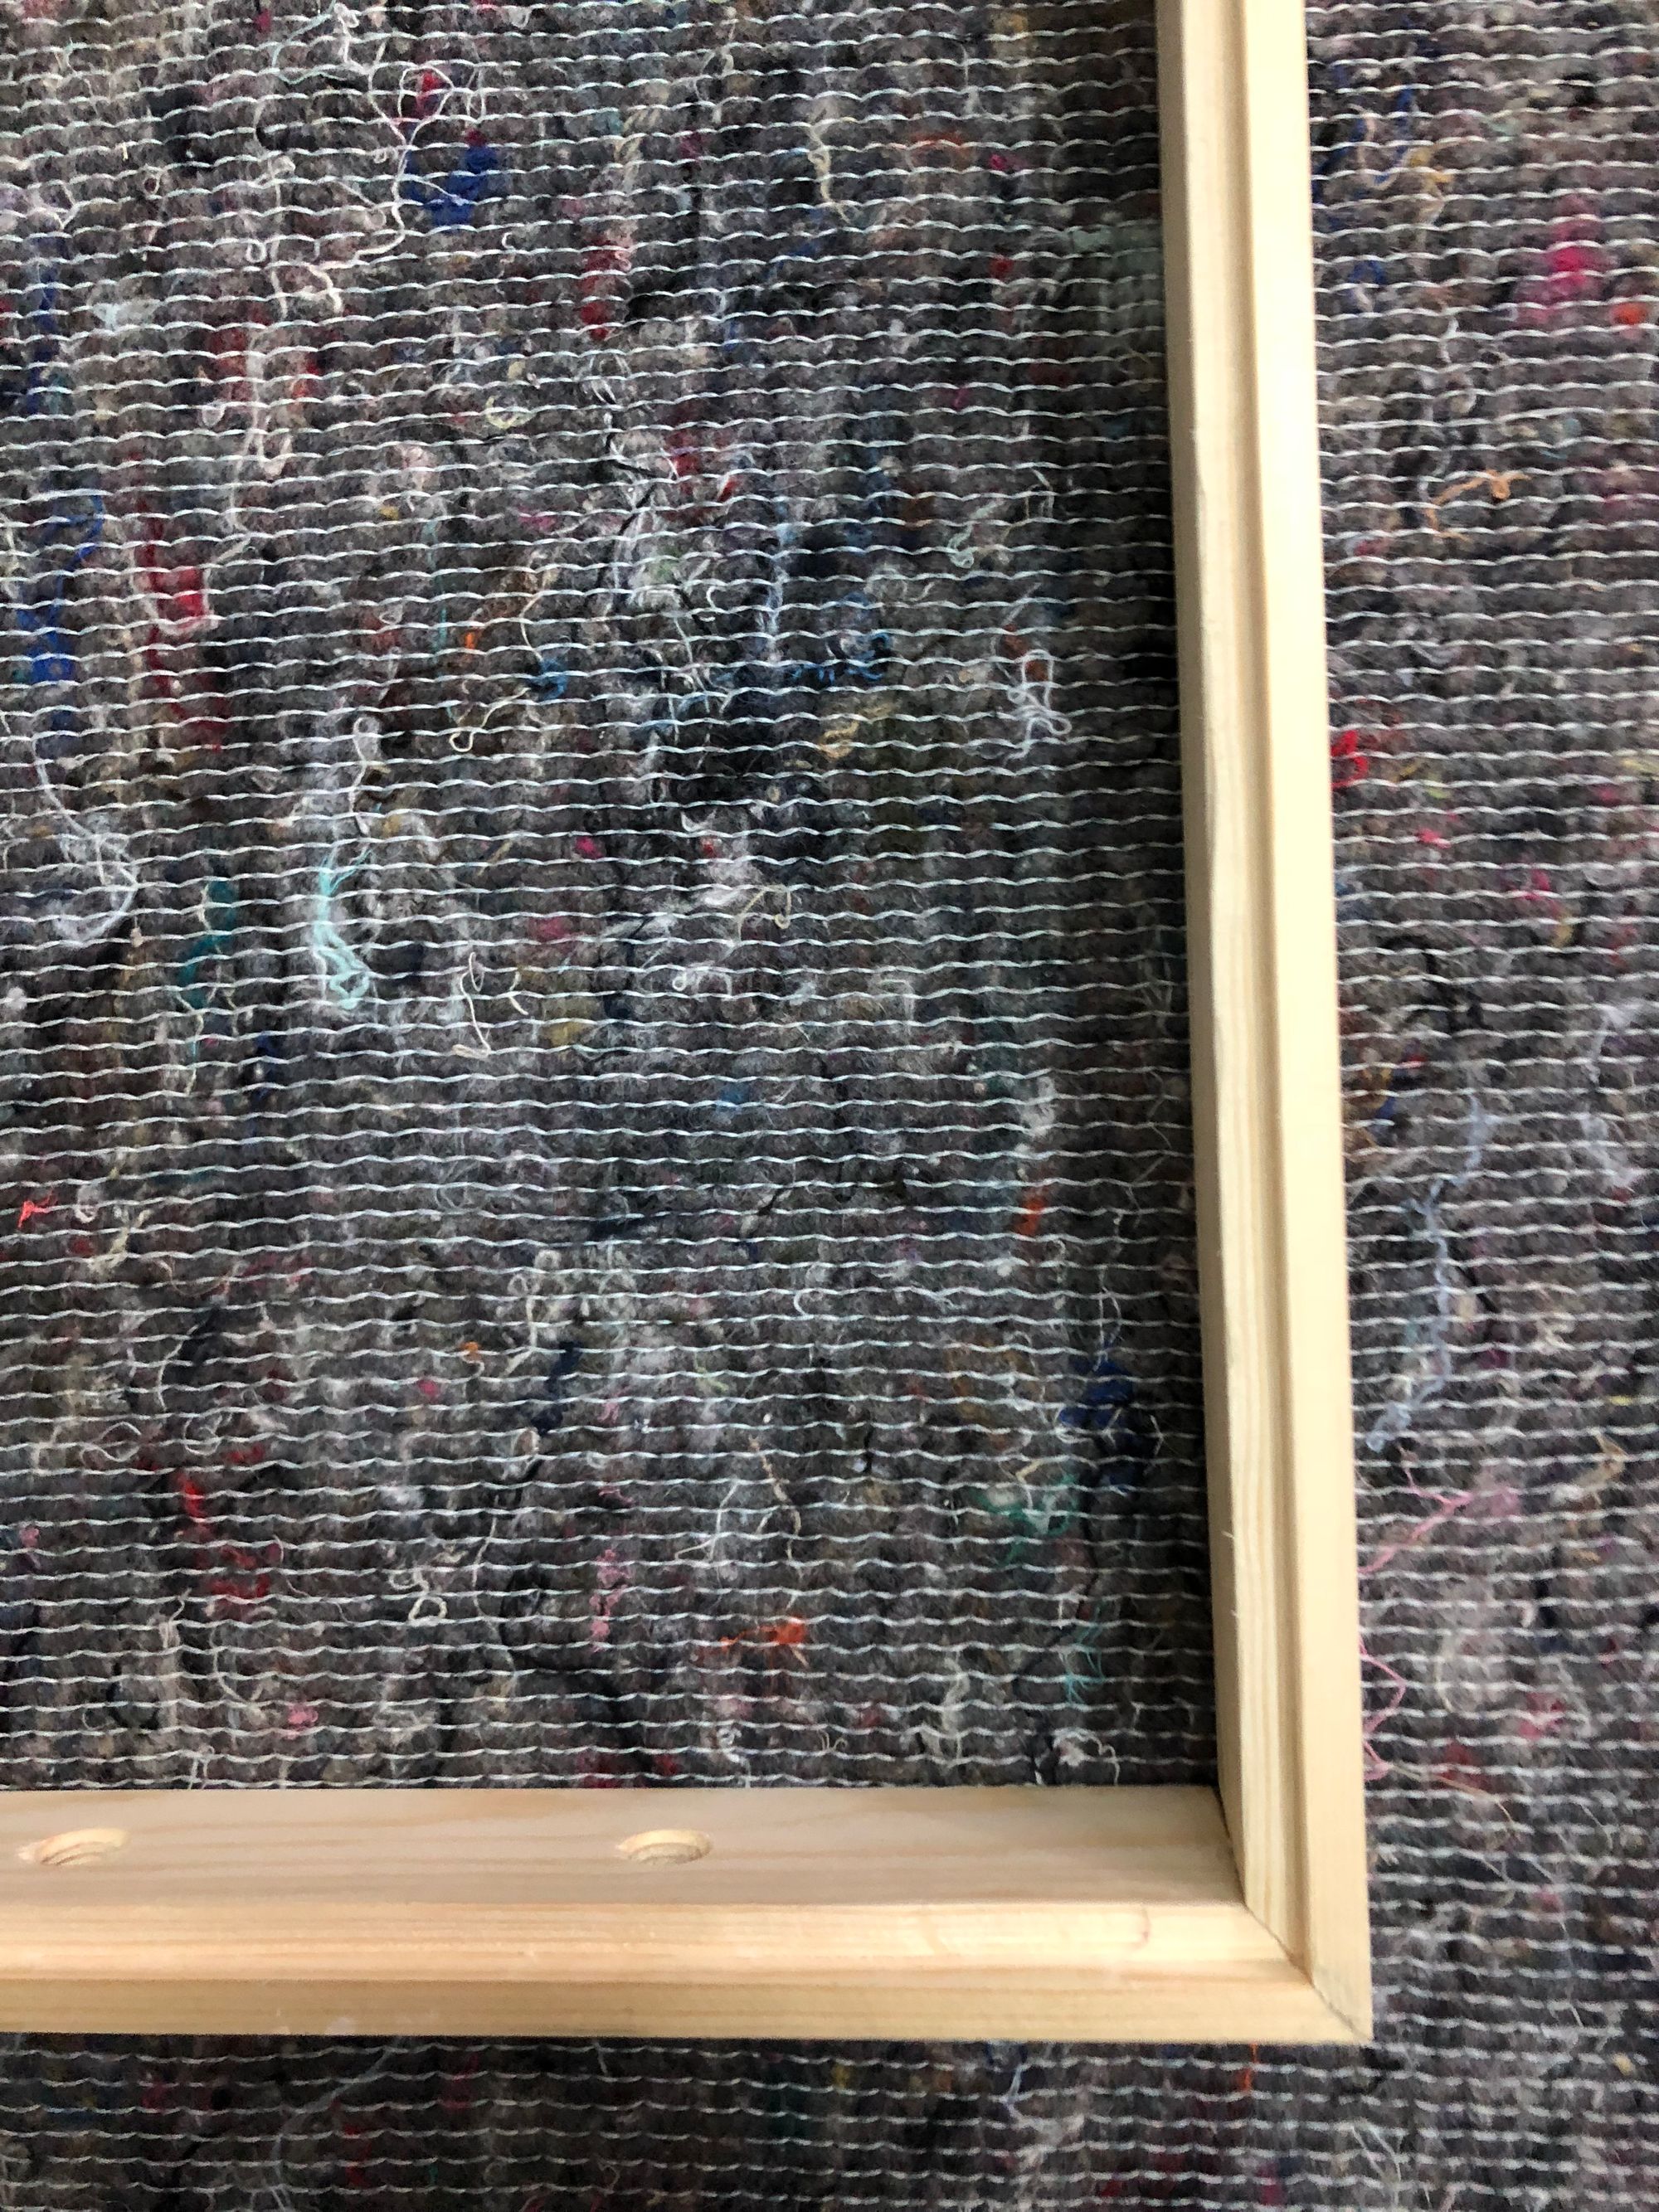
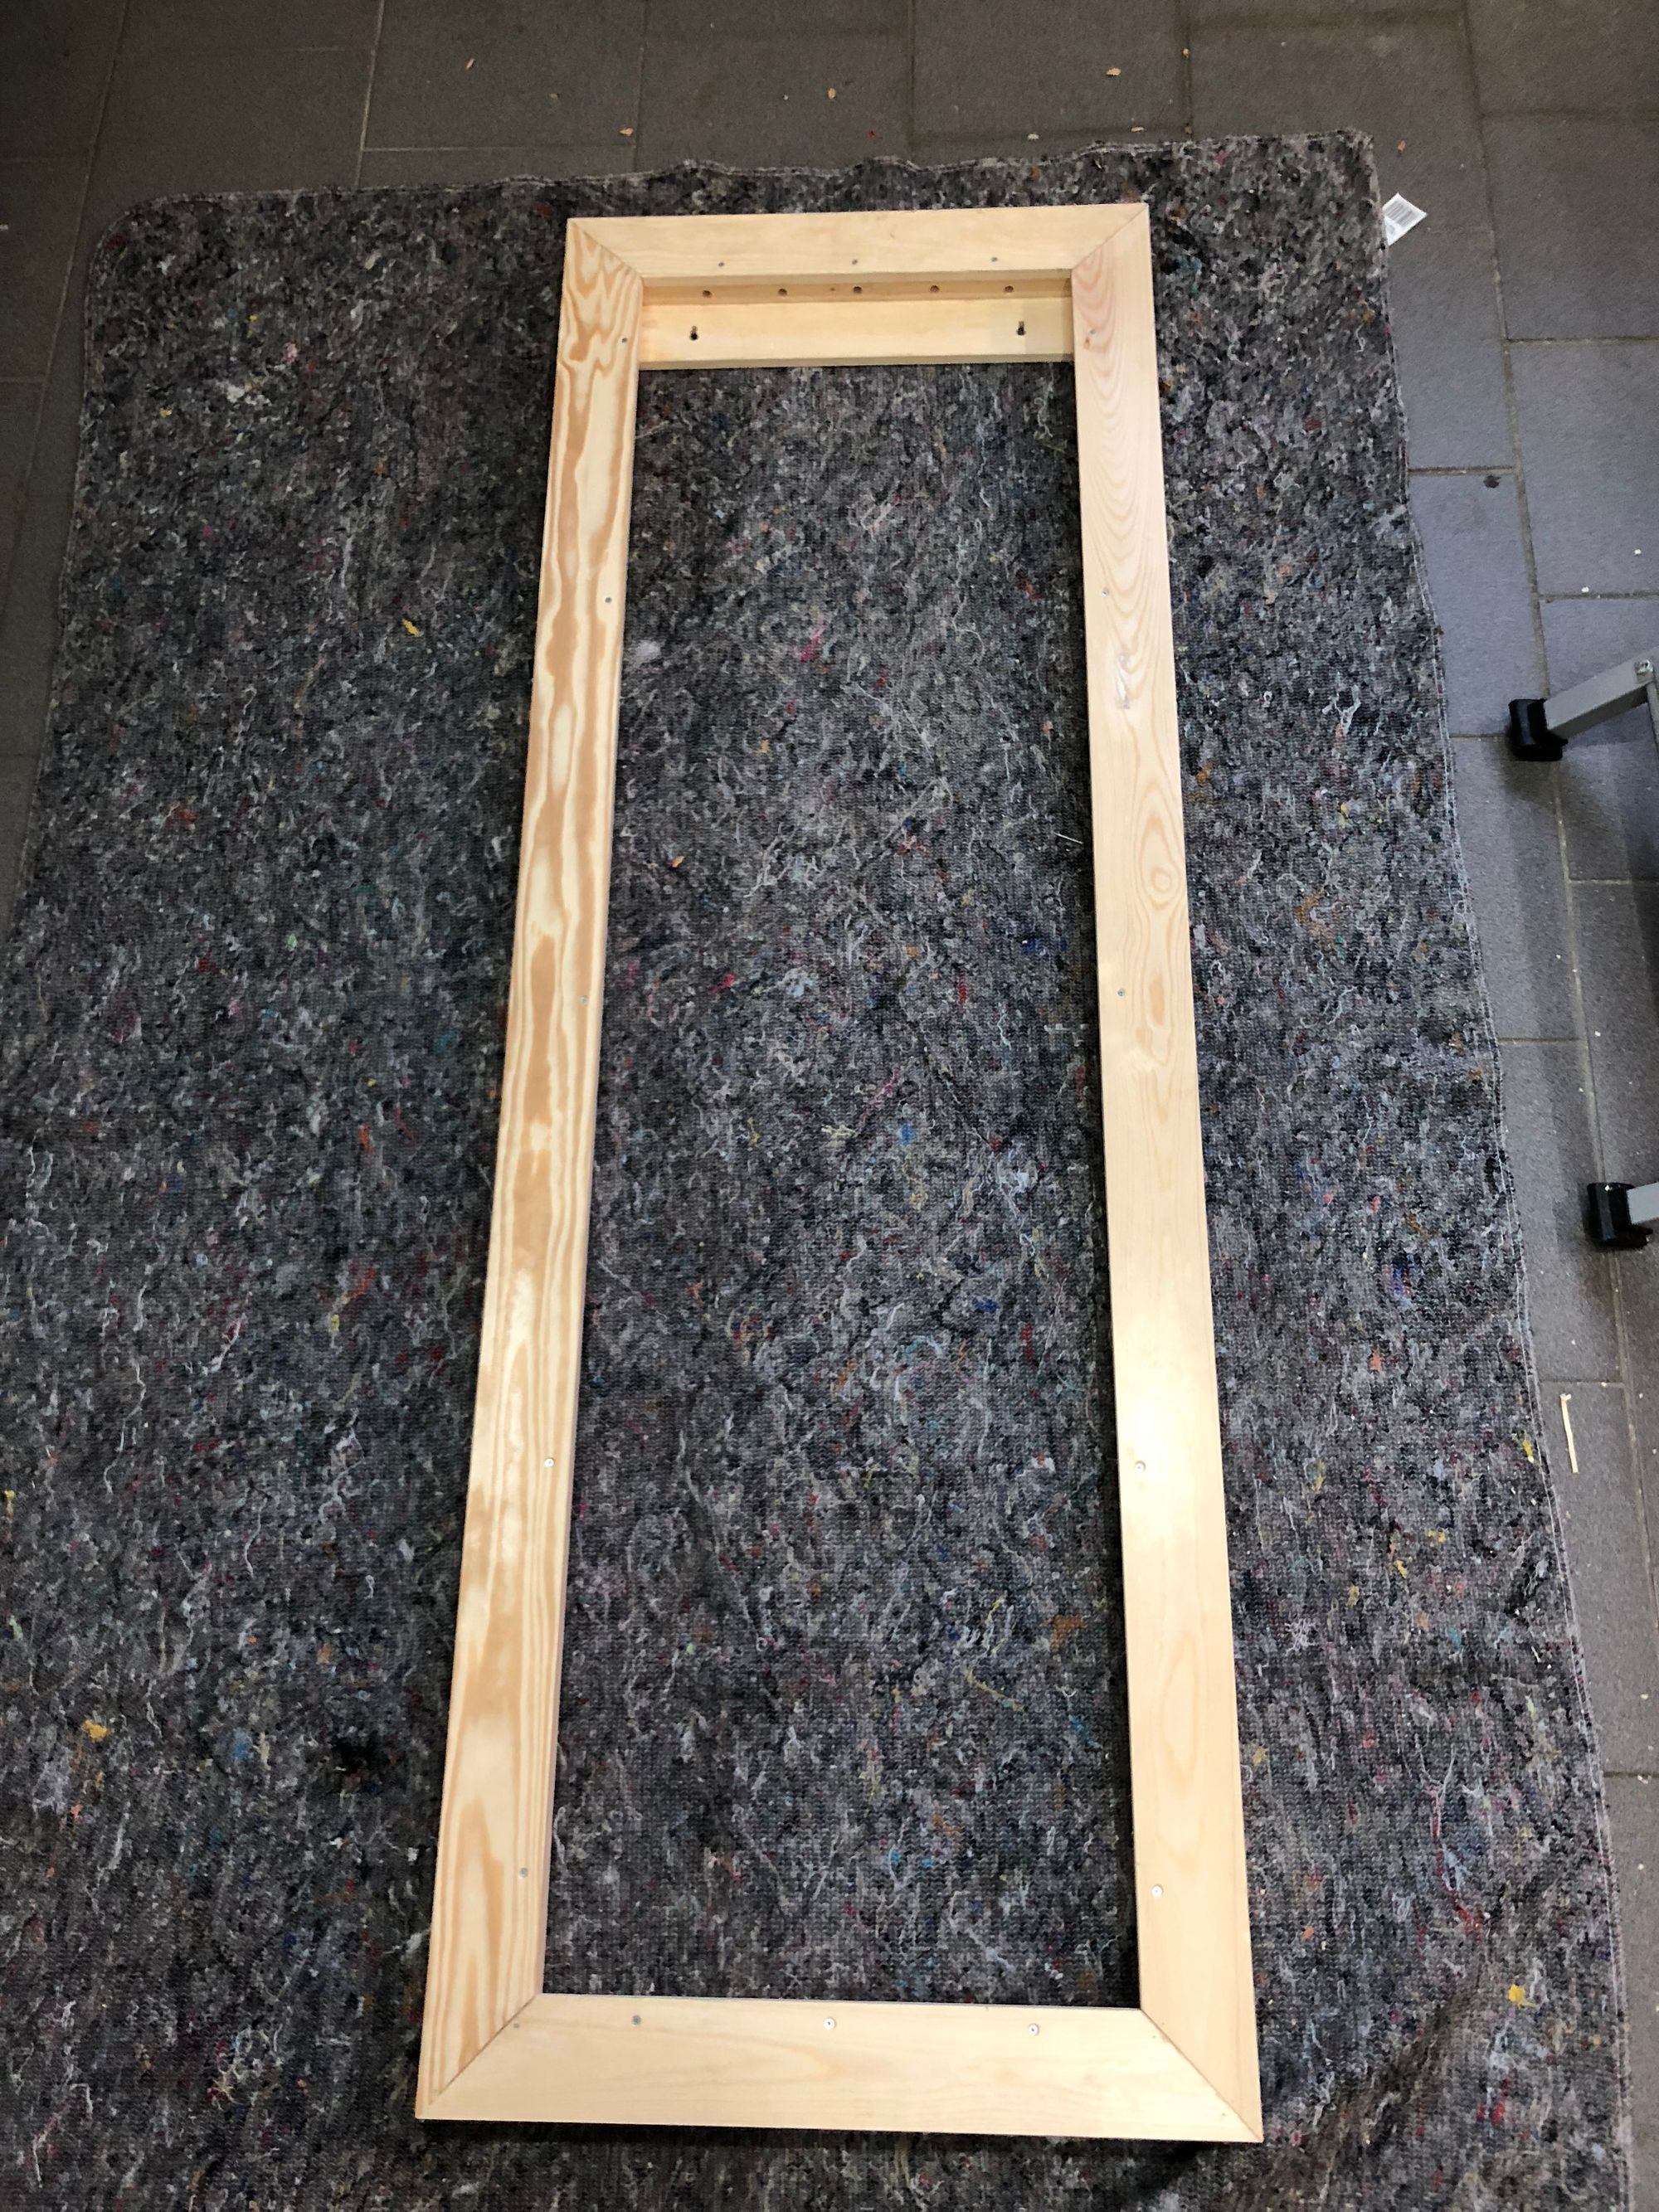
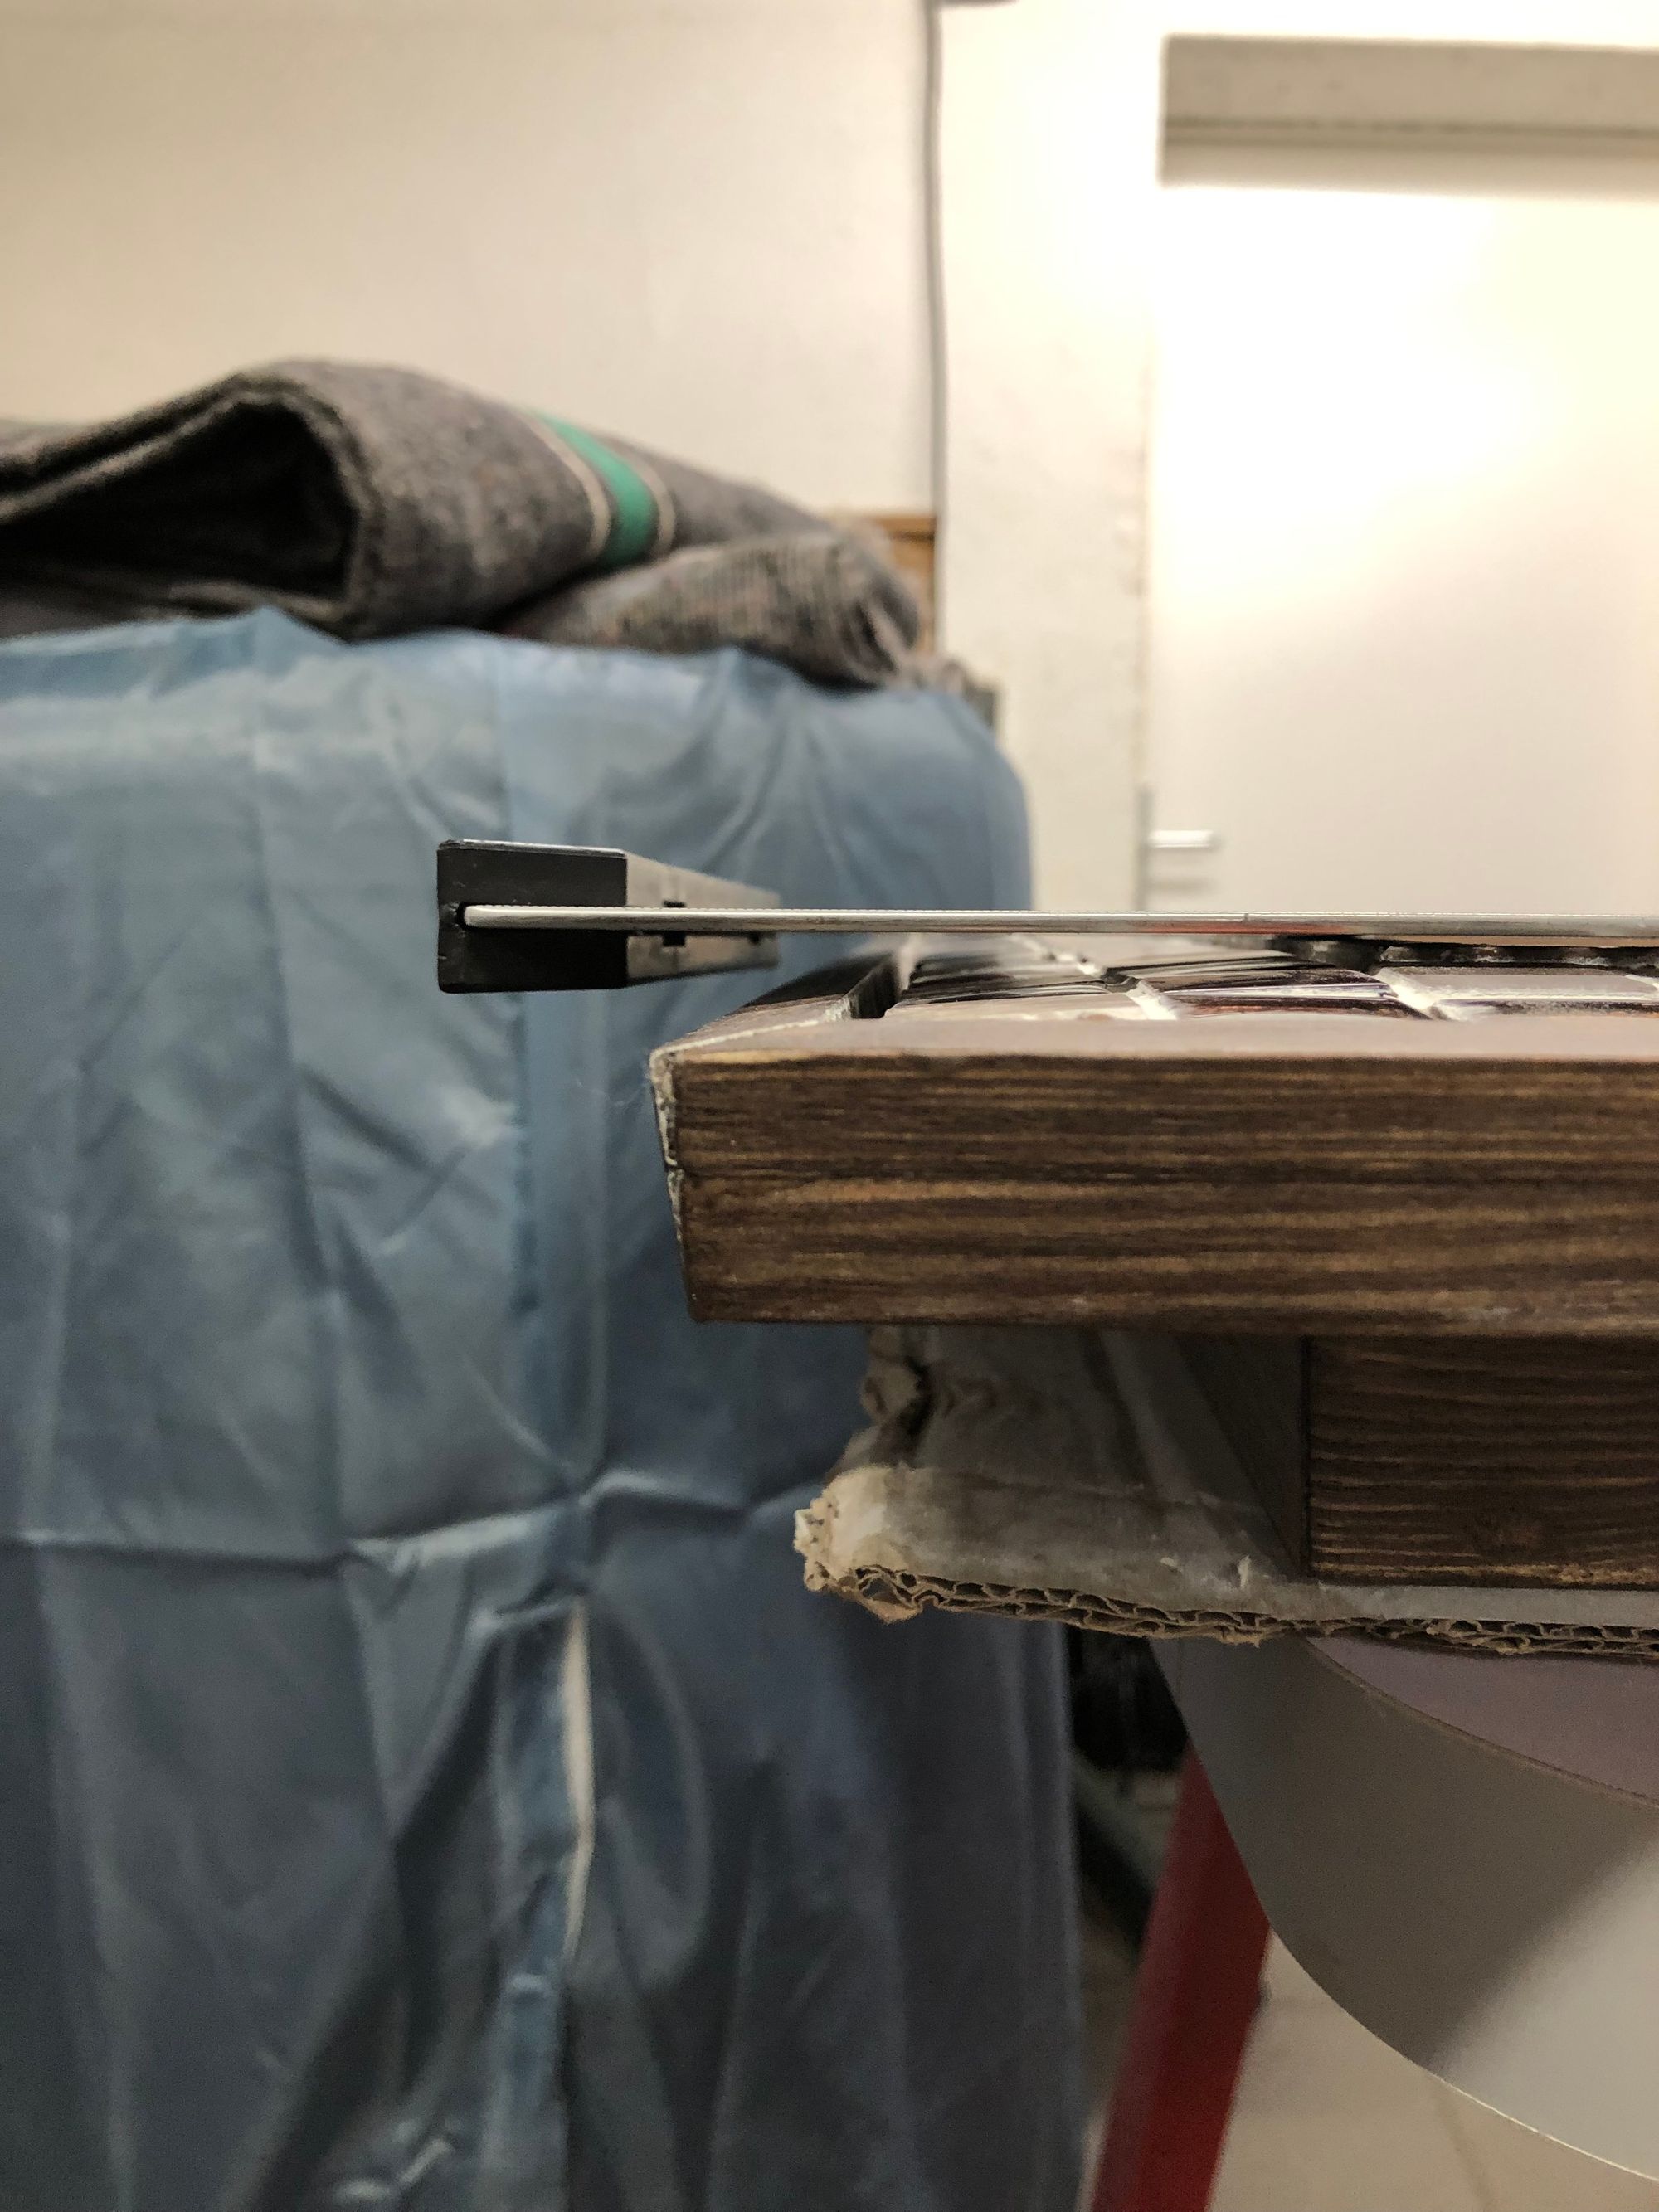
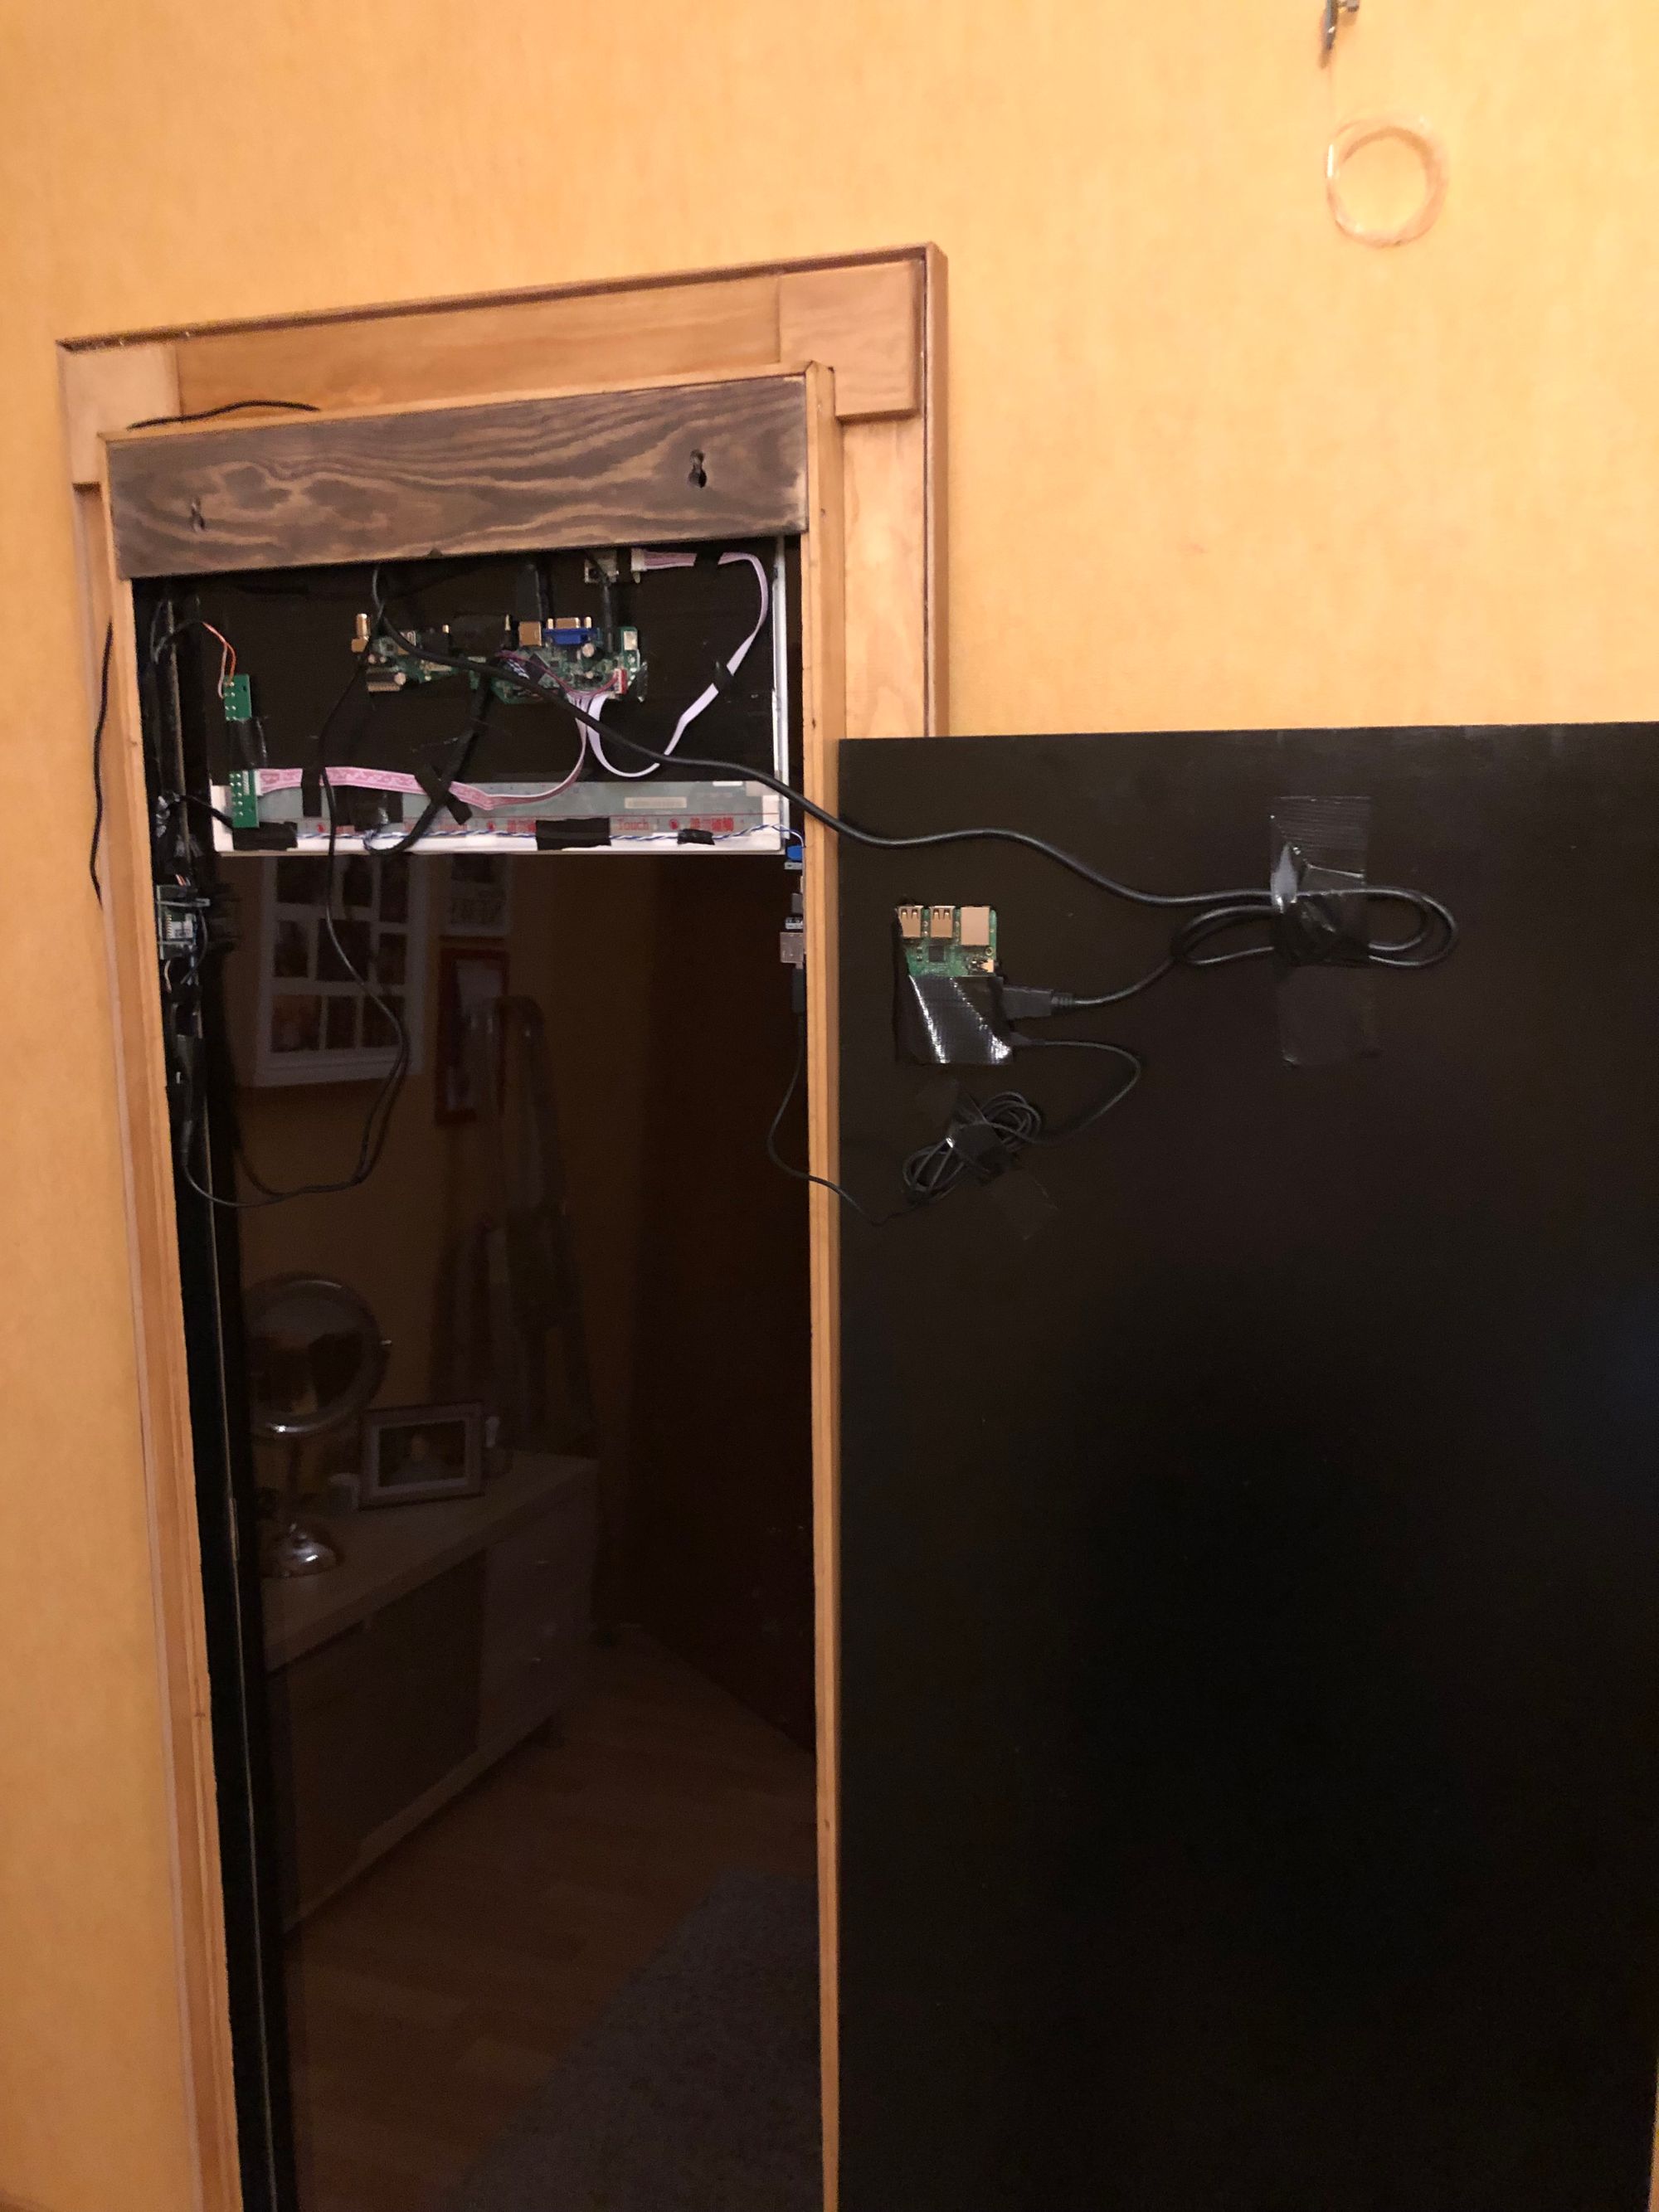
Finally, it was time to put the spy mirror in the frame and mount all electronic parts.
I'm happy that I didn't cancel my project and moved forward with a new frame, that I can enjoy every day, but he became heavier than I thought 16kg!

Thank you for your interest, and good luck with your projects.
Comments